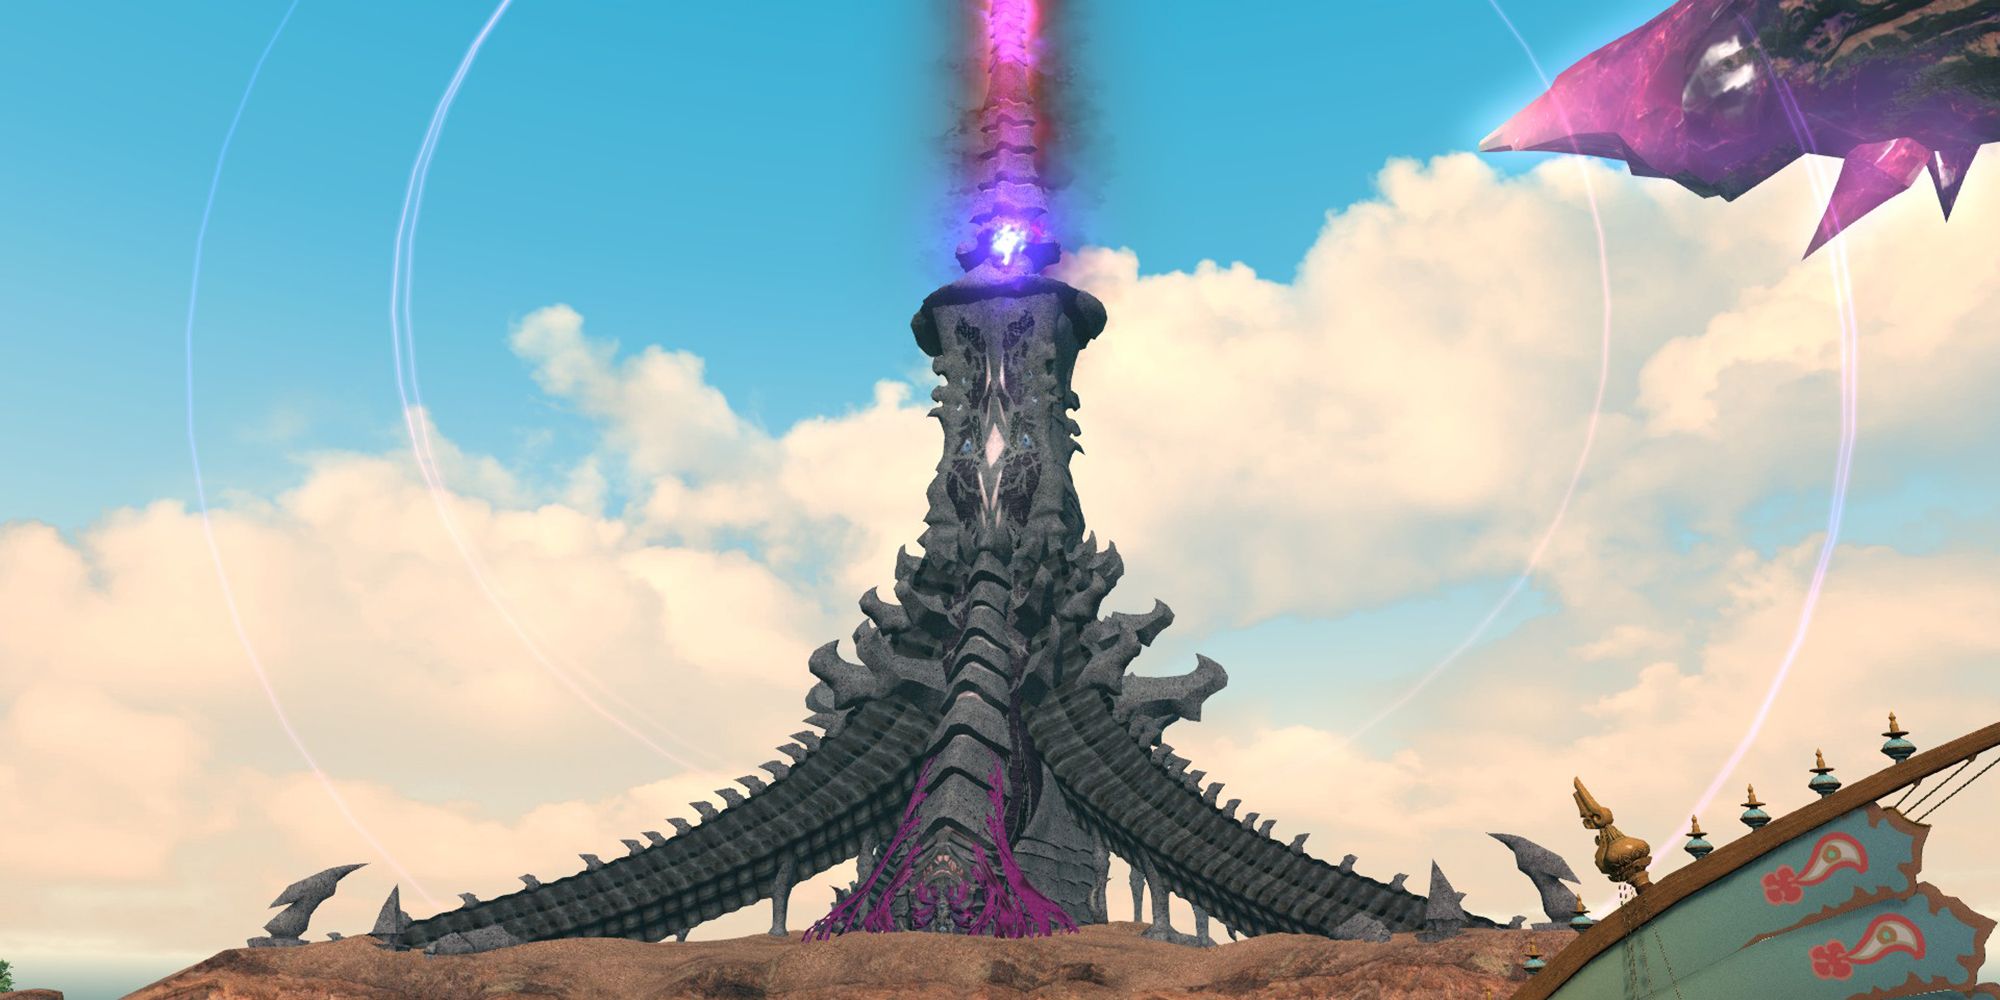
The Tower of Zot is a short but tricky Endwalker dungeon that appears during the main story. I’ve run it dozens of times and can tell you where players trip up, what to prepare, and how to clear each boss without panicking (honestly, panic is the enemy).
🏰 Overview & requirements
Requirements: level 81 and the Endwalker main scenario up to the relevant quest. The dungeon is tuned for four players: tank, healer, two DPS. Expect trash pulls between three main boss encounters and a typical clear time of 15–25 minutes with a prepared group (we found pickup groups can take longer).
Quick facts (as of 2025):
- Level: 81
- Recommended item level: ≈516 (comfortable for current content)
- Party size: 4
📋 Preparation (short and practical)
Gear matters less than knowing the mechanics, but having reasonable stats reduces stress on healers. I always bring food and a couple of high-grade potions. Repair your gear before you queue — been there, ruined a run because I forgot.
| Category | Must-have | Nice-to-have |
|---|---|---|
| Gear | i516-ish | Materia melds |
| Consumables | Food, potions | Grade 6 tinctures |
| Knowledge | Boss mechanics | Voice callouts |
Before you pull, ask: anyone new? Call roles. A 30-second plan saves wipes. By the way, voice chat helps a lot (between us, it speeds learning runs).
⚔️ Minduruva — opener notes
Minduruva teaches you to move and keep your spacing. The arena has poison tiles and ice patches. Tanks should hold center when possible to give the party room to dodge. Healers, expect party damage spikes from floor effects; prepare your AoE heals.
Primary hazards:
- Manusya Bio: poison floor tiles
- Manusya Blizzard: ice patches
- Manusya Fire: targeted hits
Why move instead of tanking through? Because standing in hazards forces extra cooldowns and wastes time — you lose DPS windows. Short tip: practice identifying safe tiles quickly; it gets faster with repetition.
🔥 Sanduruva — barrier chaos
Sanduruva adds arena division and moving orbs. Walls cut the space into unpredictable shapes; sometimes you’re boxed in. Watch barrier previews and move early. Prapti orbs travel fixed paths — track them like a line at a concert and dodge when they cross you.
| Ability | Effect | Counter |
|---|---|---|
| Isitva Siddhi | Magical walls | Move to previewed safe area |
| Prapti Siddhi | Rotating damage orbs | Follow orb paths, avoid contact |
| Manusya Stop | Paralysis | Esuna or wait it out |
Controversial? I think some players overuse sprint during barrier phases. Sprint helps, but it also encourages sloppy positioning and wasted cooldowns — use it smartly.
💎 Cinduruva — final, pattern-heavy
Cinduruva turns the arena into moving death triangles. Delta Attack paints triangular zones; you must find the tiny safe bits. The boss also charms players randomly during Triphase — that charm can make someone walk into a Delta Attack. Esuna becomes clutch here.
Counterintuitive insight: sometimes holding a defensive cooldown for a predicted spike (instead of popping it early) reduces total heal usage and shortens the fight. It sounds odd, but timing matters.
- Spot gaps between triangles — they’re usually 2–3 player widths.
- Avoid edges unless you’re certain they won’t close you in.
- Assign one caller for safe-zone calls when learning (voice or quick text).
Quick code-style checklist (copy-paste in chat):
Callouts:
- "North safe" - go north
- "Triangle left" - move left
- "Esuna on me" - healer attention
🎁 Loot & rewards
Bosses drop Moonward gear (item level ~516) and vanity items like orchestrion rolls or minions. Cinduruva can drop any piece, so finish the dungeon if you’re hunting a specific slot. I’ve noticed rings from the first boss are popular in trade chat, so expect some demand.
| Boss | Main drops | Extras |
|---|---|---|
| Minduruva | Accessories | Zot Orchestrion Roll |
| Sanduruva | Chest/Legs/Weapons | Minion reward |
| Cinduruva | Any Moonward piece | Triple Triad card |
💡 Pro tips that actually help
Use cardinal calls (North/South/East/West) for fast coordination. Tanks: pre-position for predictable pushes. Healers: save a single big heal or Esuna for Triphase charm. DPS: learn brief safe windows so you don’t trade uptime for a wipe. This doesn’t always work — depends on your niche and party makeup — but it helps most groups.
“If you spend five pulls learning the safe spots, the next ten clears feel effortless.” — a healer who’s run it too many times
Speed-run tips: pull trash into boss arenas when safe, use limit break on Cinduruva burn, and coordinate buffs for the final phase. Watch this: small adjustments in positioning cut rescue time dramatically! Oddly enough, repeating the same mistake twice forces you to learn faster (well, that’s painful but true).
One last controversial take: public Duty Finder is fine for loot, but if you want to learn the dungeon, find a voice group — silence teaches bad habits. Want to improve? Practice with friends or a steady party.
Ready to go? Queue up, breathe, and remember: you’ll clear it faster after a few runs — I promise. Oh — one more thing — sometimes I forget a potion. Don’t be me.
