White Mage in Final Fantasy XIV: Shadowbringers remains my go-to healer for many raid teams. I’ve played it since Shadowbringers launched on July 2, 2019, and in my experience the job stays simple to learn but deep to master. This guide speaks plainly: how the core mechanics work, what I recommend, and why those choices matter (there are exceptions).
White Mage focuses on strong, direct heals and fast recovery. You manage MP, stack Lilies, and convert those into instant Afflatus heals that keep the party alive while you move. I’ve noticed players who obsess over tiny HP differences burn MP and underperform; honestly, healing smart beats healing frantic.
Basics — what you actually do
WHM is about reacting and planning. Regen and HoTs give you time to rotate; instant Afflatus spells let you save people during movement. Ask yourself: do I need to top someone now, or will a timed Regen handle it? That question separates good healers from great ones.
Short tip: start pulls with Regen on the tank. Why? It reduces early spike damage and frees you to cast other spells during the first phase.
Core spells and when to use them
Use Cure II for most single-target damage; Medica II for group damage. Afflatus Solace and Afflatus Rapture are free, instant, and require Lilies—use them during movement or big hits. Benediction is an emergency full heal; don’t hoard it waiting for a “perfect” moment that never comes. I’ve found proactive use works better than perfectionism.
| Type | Examples | When |
|---|---|---|
| Single-target | Cure II, Tetragrammaton | Tank busters, focused damage |
| AoE | Medica II, Afflatus Rapture | Raid-wide spikes |
| Instant | Afflatus Solace | Movement-heavy phases |
| Utility | Assize, Divine Benison | MP refund / mitigation |
Damage and rotation — yes, you deal DPS
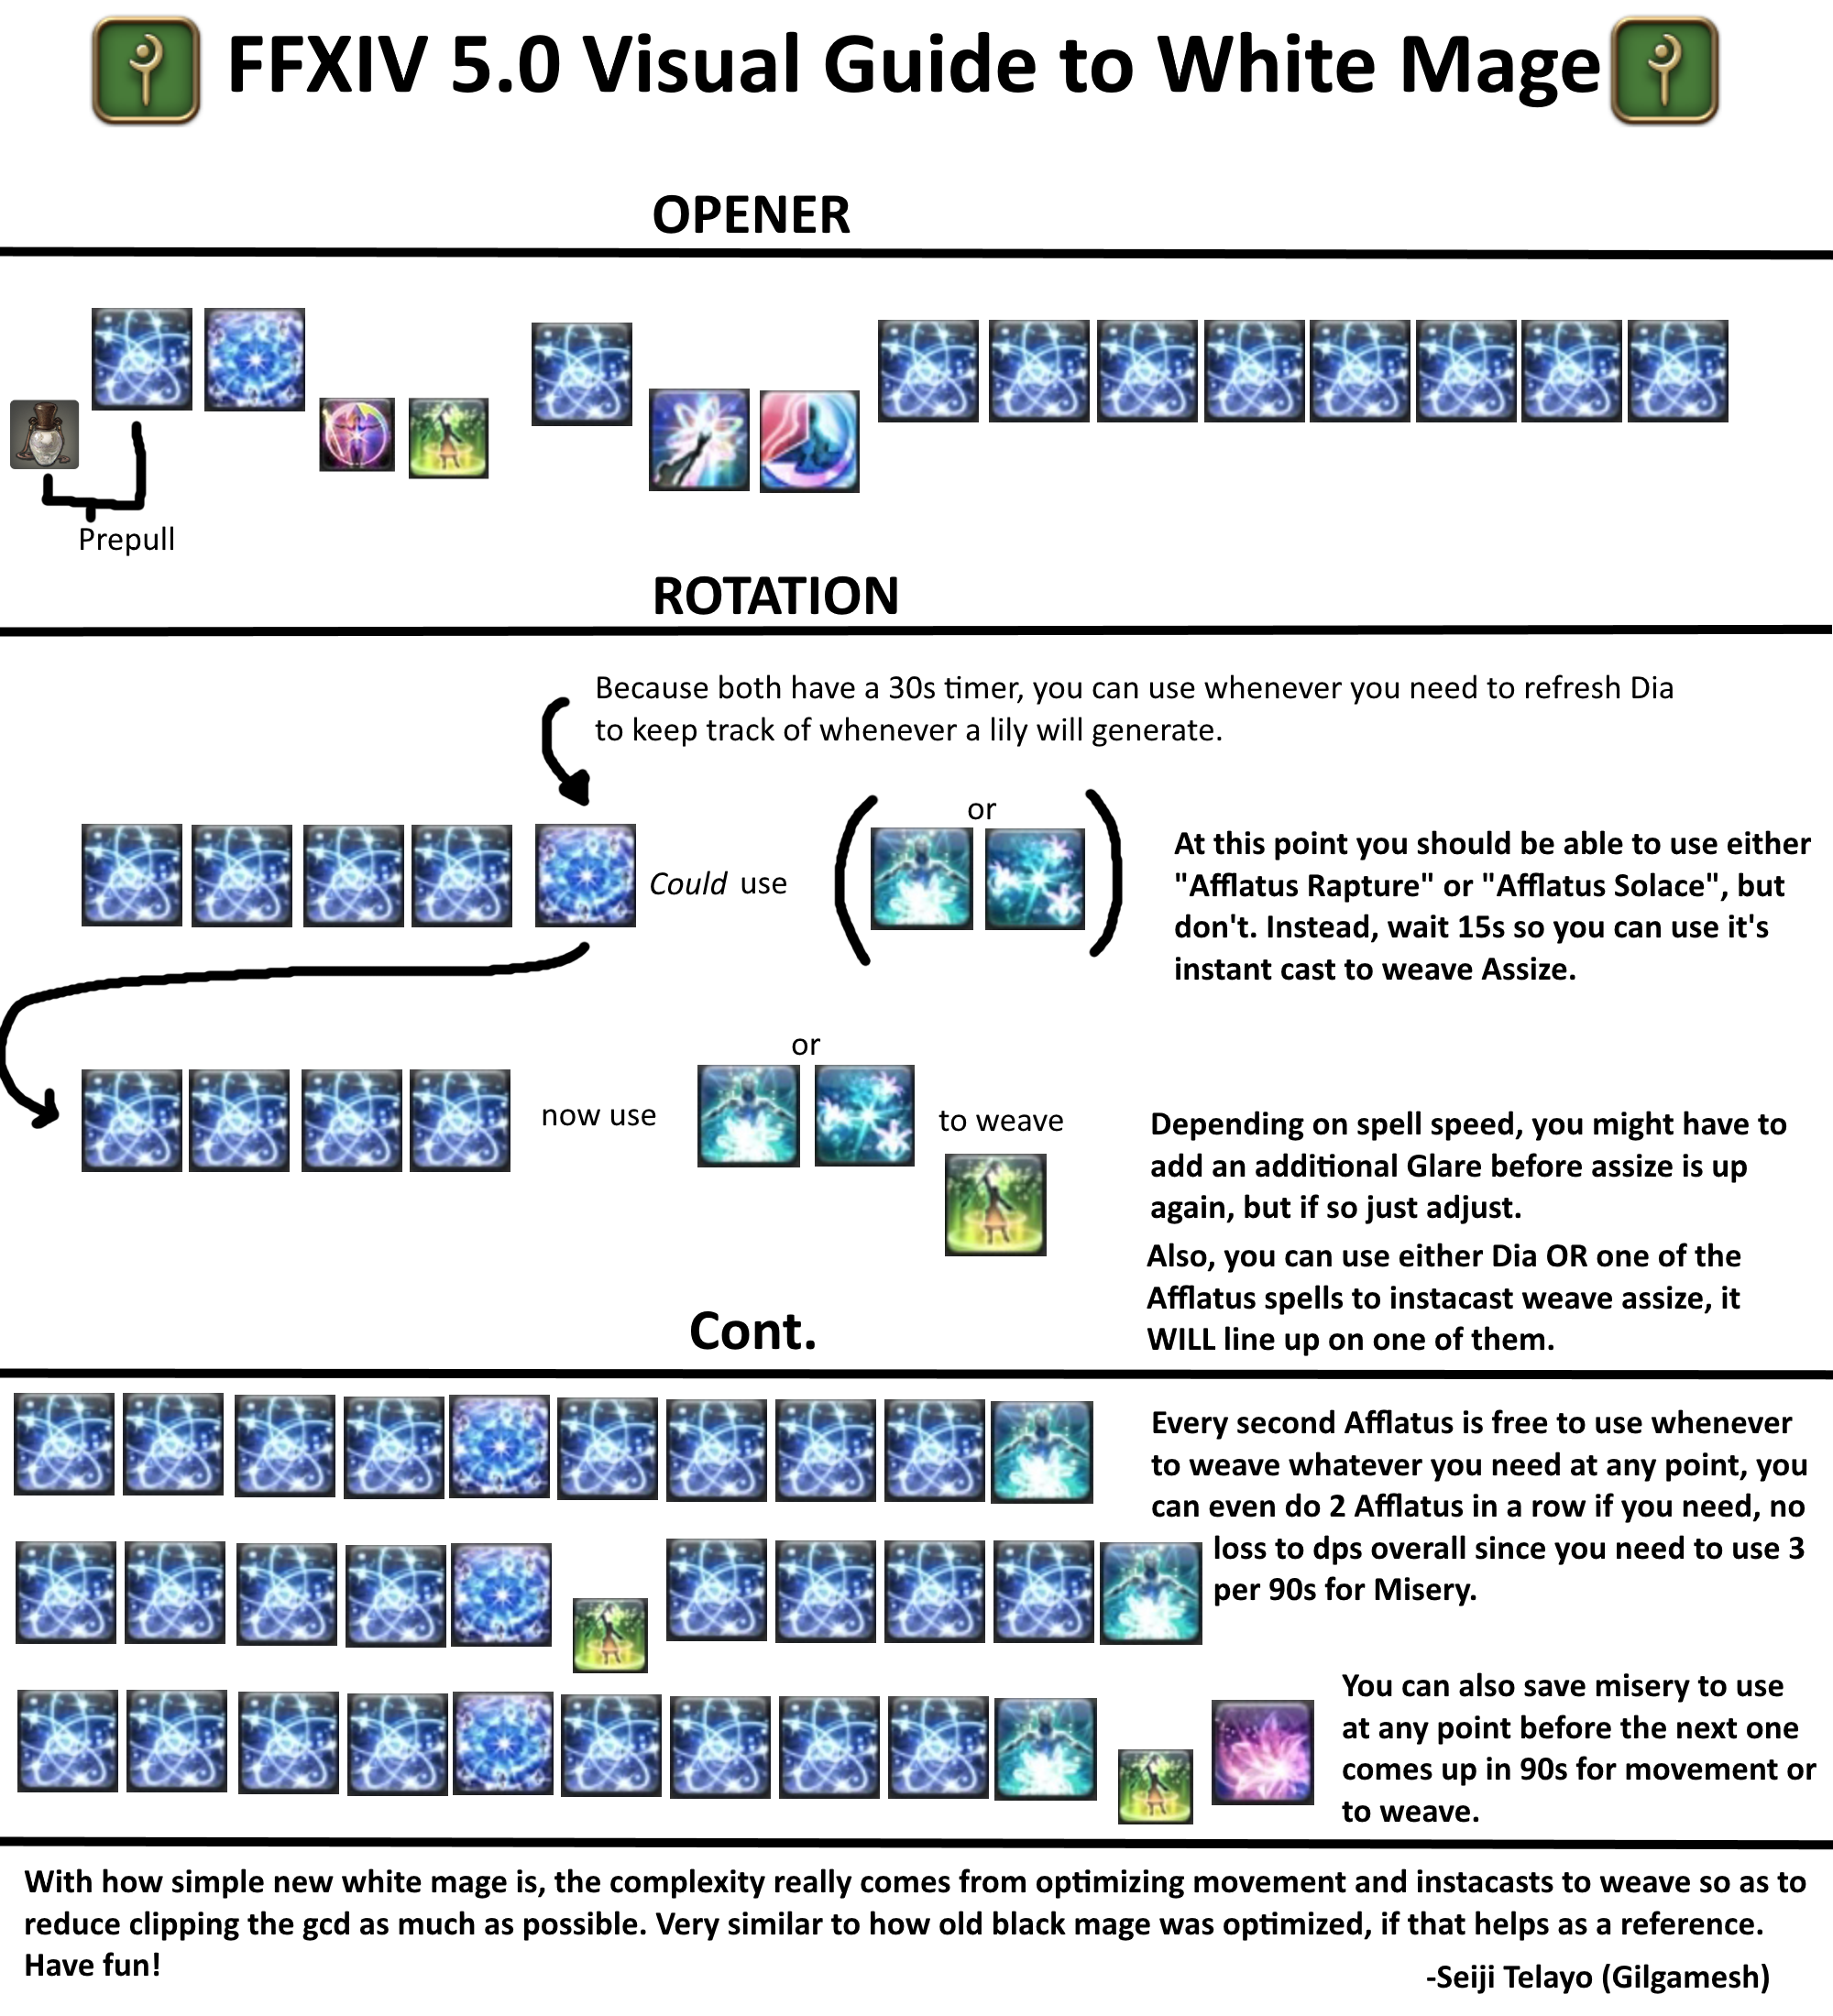
Do you sit there and only heal? No. Healers are expected to contribute damage. Use Aero III or Dia on singles and Glare during downtime; switch to Holy for grouped enemies. Surprisingly, doing consistent damage helps your group clear faster and reduces total healing needed.
“Healing less perfectly but contributing DPS often saves more lives than healing perfectly and doing no damage.” — practical advice I’ve used with raid teams
Advanced tips and why they work
Slidecasting (start moving in the last 0.5s of a cast) keeps you alive and keeps casts rolling. Use Assize to refill MP during heavy fights; it’s both a heal and a resource tool. Plan Lily usage: three Lilies = one Blood Lily, and that Blood Lily fuels your big Afflatus Misery—or, more simply, gives you strong burst damage when appropriate.
Here’s the funny part: sometimes the best play is not to heal immediately. Let the Regen tick, save your MP, then use your instant heals at the critical second. Counterintuitive, yes; but we found it wins more fights.
Stat priority and gear (practical ranges)
Weapon DMG and Mind matter most. After that, focus on Critical Hit and Determination. Spell Speed helps your casting rhythm; don’t chase it to the point you run out of MP. Target ranges that work for general content:
- Mind / Weapon: highest possible
- Critical Hit: ~2,500–3,000
- Determination: ~1,800–2,200
- Spell Speed: ~1,500–2,000
Depends on your niche: progression raiding may skew stats toward Crit; M+ groups often prefer comfort (more Speed).
Endgame considerations (raids, trials, Savage)
Raid series in Shadowbringers (Eden content) force you to learn timing, positioning, and pattern recognition. Extreme Trials like Titan or Hades teach you to handle stacked mechanics. Savage demands near-perfect execution: MP management, cooldown timing, and coordinated positioning. Don’t expect to clear first week—practice strategy and one mechanic at a time.
- Pre-pull: Regen, position, check cooldowns
- Open: apply DoTs, weave damage
- Damage phases: use Glare/Assize, save instant heals for hits
- Burst windows: Presence of Mind + high healing output
- Recovery: return to damage while sustaining HoTs
Controversial note: I think White Mage is overrated by some players who haven’t tried Scholar in Savage. There, shields and mitigation can be more forgiving. Don’t @ me—just try both.
Common mistakes I see (and how to fix them)
- Overhealing: stop panicking at every tick of damage; aim for survival thresholds, not full bars.
- Poor MP use: use Assize and Lucid Dreaming on cooldown, and don’t spam Cure II when Regen would do.
- Bad positioning: stay reachable but safe; use Rescue when teammates misposition.
- Cooldown hoarding: use Benediction and Tetragrammaton proactively during known heavy windows.
One counterintuitive insight: doing a small, timely shield (Divine Benison) can save more MP than repeatedly casting heals. Try it once during a progression pull; you’ll see the difference.
Quick reference — cheat sheet
- Start Regen on tank
- Use Afflatus instant heals during movement or spikes
- Slidecast to keep casting while relocating
- Use Assize to restore MP
// Example micro-rotation (single target)
apply DoT (Aero/Dia)
cast Glare until damage needed
if heavy hit => Afflatus Solace or Tetragrammaton
use Assize/MP when low
Pro tip: I’ve noticed teams with clear communication die less. Call your cooldowns and listen.
Two caveats: this doesn’t always work for every encounter, and it depends on your raid’s makeup. There are exceptions—some fights force different priorities.
The style here may stumble a bit (sorry, habit), but the practice is solid: manage resources, prioritize survival, and contribute damage. Want a specific rotation for a fight you’re stuck on? Tell me the boss and raid tier and we’ll break it down together — between us, you’ll get it faster.
Short summary: White Mage is straightforward to learn and deep to master. Use Lilies, time your instant heals, don’t hoard cooldowns, and deal damage when safe. If you follow those rules and practice, you’ll carry teams through content from dungeons to Savage. May your heals be fast and your casts land! 🌿✨


