I play Crusader PvP a lot, and I’ll be direct: the Condemn build controls space and wins fights when used right. I’ve noticed that timing and positioning matter more than raw gear. If you want simple, practical advice from someone who’s climbed Battleground ranks, read on — I’ll tell you what I use, why it works, and where this build falls flat.
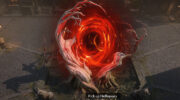
Surprisingly, Condemn shines because it punishes grouped enemies. It creates expanding holy zones that force repositioning. That’s why I focus on creating choke points and baiting foes into them. Sounds basic? It is. It works.
⚔️ What Condemn Does (short)
Condemn makes circular AoE damage that expands. Use it when enemies are stacked or when you can pull them into your ring. Why? Because grouped targets multiply your value per cast. Ask yourself: are they forcing themselves together? If yes, cast.
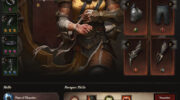
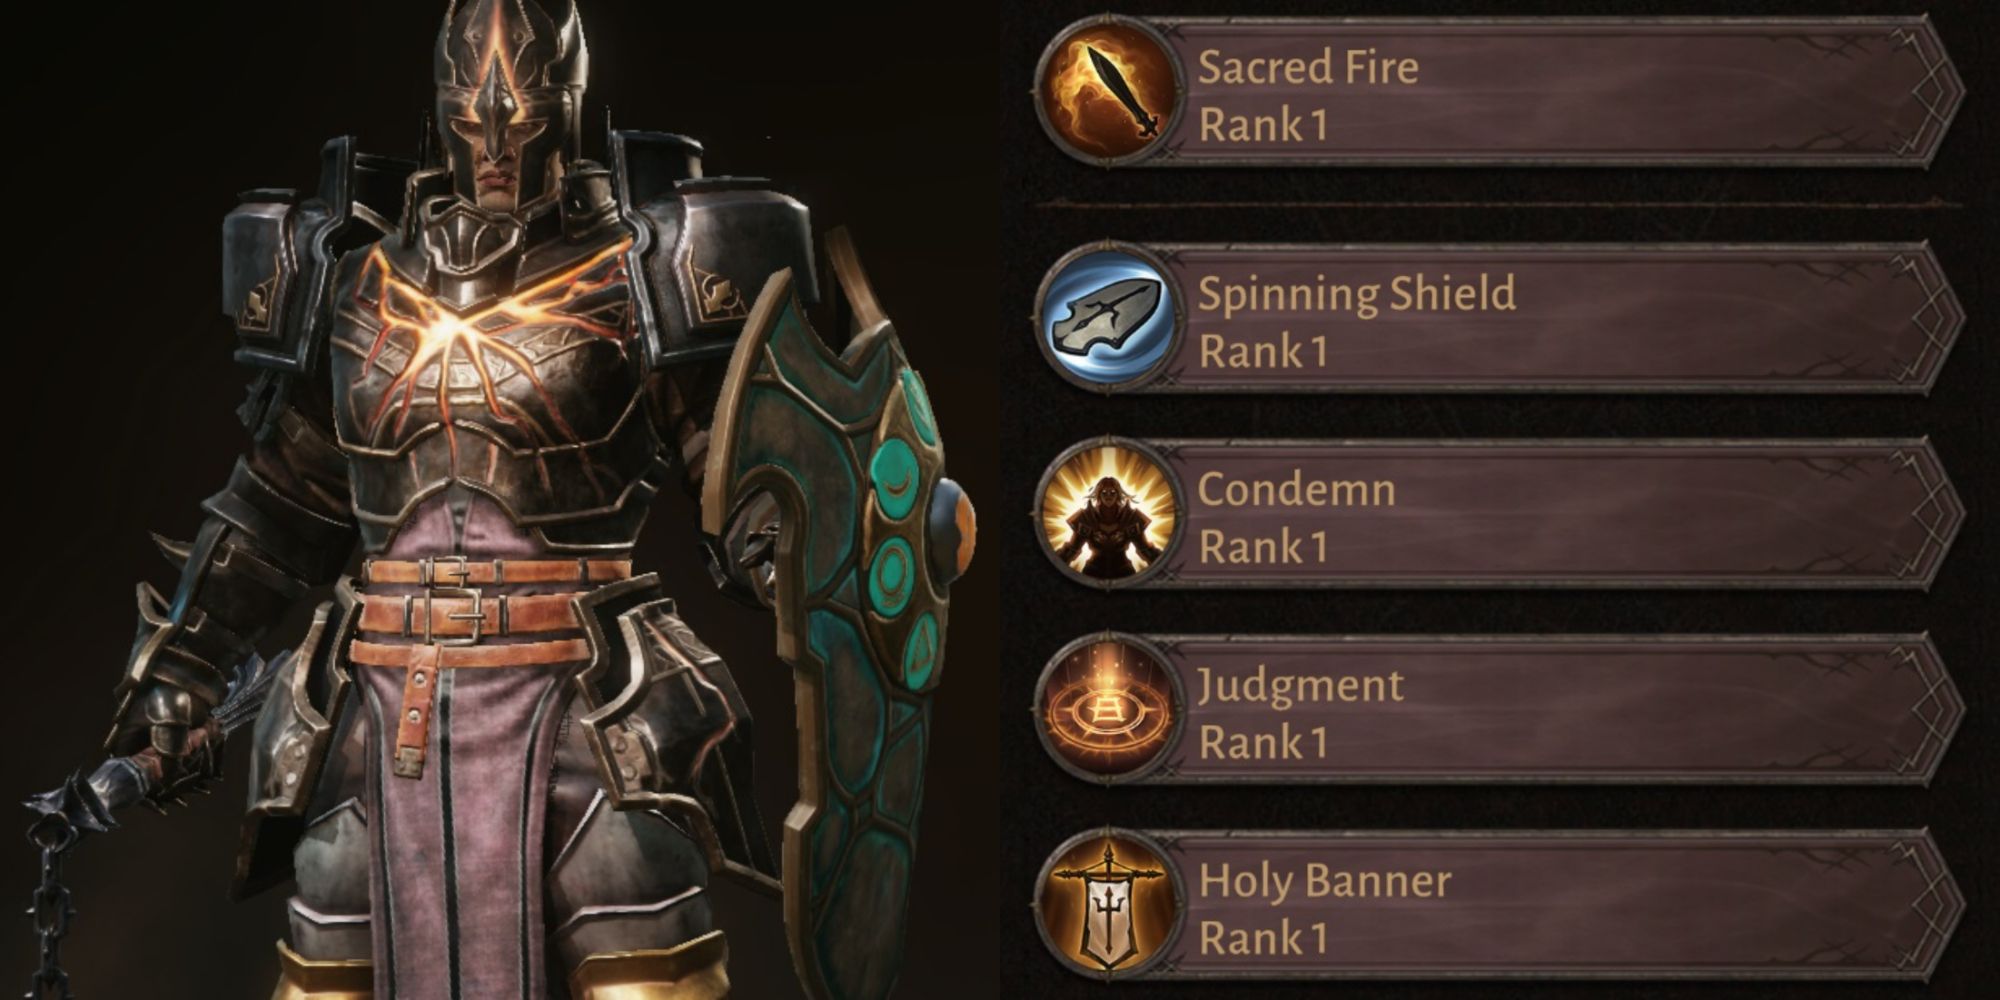
🛠️ Skill Setup (practical)
| Slot | Ability | Why it matters |
|---|---|---|
| Primary | Punish | Resource and steady damage |
| Skill 1 | Condemn | Main AoE and CC |
| Skill 2 | Draw and Quarter | Pulls or repositions targets |
| Skill 3 | Consecration | Area control over time |
| Skill 4 | Sacred Fire | Ranged finish or pressure |
Rotation for fights (short list):
- Hold position near objective.
- Cast Consecration first to build control.
- Pull priority targets with Draw and Quarter.
- Drop Condemn as they clump.
- Finish or reposition with Sacred Fire, then run if needed.
Why this order? Consecration makes enemies linger; pulling creates a dense target group; Condemn then punishes them. That combo converts setup into kills. This doesn’t always work — it depends on the enemy’s mobility and team coordination.
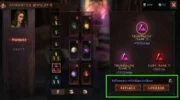
💎 Gems and Priority (2025 meta)
In my experience during 2025 matches, legendary gems that boost AoE or survivability matter most. I’ve seen players obsess over one gem; that’s a mistake. Balance matters.
- Bottled Hope — top pick for survivability and clutch play (use early in fights).
- Blessing of the Worthy — good for aggressive, close work.
- Blood-Soaked Jade — helps you chase or reposition after kills.
Caveat: server metas vary. There are exceptions where Bottled Hope isn’t optimal (depends on your role and teammates). Spend upgrade materials on the gem that changes your worst matchups first.
“Upgrade what stops you dying right now, not what looks flashiest.” — my usual advice
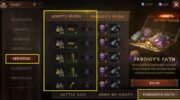
⚙️ Gear Focus and Stats
Target these stats in order: Combat Rating (obvious), Life, Damage, Crit Chance, Crit Damage, Armor Penetration. Don’t chase very high crit if you die instantly; survivability often beats greed.
Example equipment goals (short):
- Pieces that increase Condemn rank or area damage.
- Secondaries: life and movement speed.
- Set combos that add AoE or CC resistance work well.
Why? Because you need to survive long enough to land your combo. If you can’t, high damage is wasted.
🎯 Positioning and Advanced Tips
Watch this: positioning is half your damage. Use chokepoints. Force enemies into narrow corridors. I use Draw and Quarter as a reposition tool for myself as much as for enemies (yes, it’s also an escape). Be patient; bait wins more than blind aggression.
Short pro tip: stick near objectives but keep two exits available. You’d be surprised how often players forget escape routes and then die in a single bad rotation.
Oddly enough, being tankier can sometimes improve Condemn’s DPS because enemies stand in your ring longer. Counterintuitive? Yes. Try it once.
🛡️ Dealing with Popular Opponents
Common counters and how I approach them:
- Necromancer Bone Spear — keep mid-range, interrupt when you can, punish cooldowns.
- Demon Hunter Multishot — close the gap quickly or use terrain to break sight.
- Wizard Meteor — move constantly and force them to cast in bad spots.
Controversial take: Condemn is overrated in solo queue. Honestly, without teammates calling targets, it won’t work the way you expect. Also, some players swear Bottled Hope is mandatory; I disagree — situational choices matter more than absolutes.
📈 Mistakes I See Often
Short list of sins (you’ll recognize them):
- Chasing kills out of position.
- Using Condemn in open fields where enemies scatter.
- Ignoring team composition and calling your own plays.
Fixes: track enemy cooldowns, talk to teammates (even a quick ping helps), and upgrade gems regularly. Simple, but rarely consistent.
Checklist Before Match
- Adjust gems to enemy types.
- Confirm gear stats are where you want them.
- Decide your role with the team — lead engages or hold objectives?
// tiny pseudo-code reminder
if (enemiesGrouped) {
  cast(Consecration);
  cast(DrawAndQuarter on priority);
  cast(Condemn);
}
To be fair, learning Condemn takes matches. Expect missteps. I still do from time to time… and learn faster when I review the deaths. Between us: record one match per session. You’ll see the timing problems immediately.
Final unexpected insight: sometimes swapping one mobility piece for extra life yields more wins than chasing raw Condemn damage. Depends on your niche, but worth testing.
Want a quick drill? Practice pulling two friendly dummies into Condemn in custom matches. That trains your timing far faster than theorycrafting alone. Try it this week and tell me how it went!
Good luck — I’ll be playing Battlegrounds tonight. See you there! ⚔️