I’ve climbed the Forgotten Tower enough times to know what works and what doesn’t. I’m a player and a guide (female), and this is practical, plain advice you can use right away.
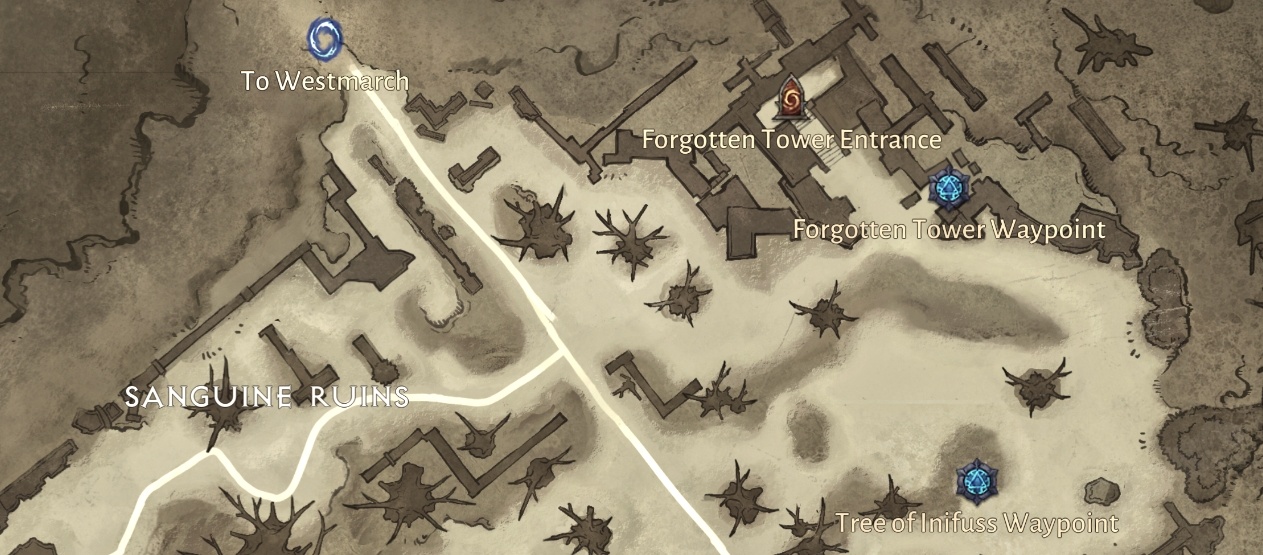
The Forgotten Tower is an endless, multi-floor challenge in Diablo Immortal where each floor gets harder and drops better loot. You need Tower Keys to enter; you get those from daily tasks, the Battle Pass, and events. The Tower tracks your best floor each week and rewards you based on that highest floor—plan your big push for when your gear and gems are best. (Guide updated on 2025-03-01.)
🏰 How the Tower works
Floors scale enemy health and damage, add new mechanics, and introduce environmental hazards. Expect elites with burst attacks, teleports, and timed area effects as you climb. Why focus on mechanics rather than brute force? Because builds hit soft caps: better play often beats slightly better stats. I’ve noticed players who learn telegraphs on low floors clear much higher ones later.
Here’s the weekly reality: you get one recorded best floor per week and rewards follow that. So, do practice runs early in the week, then save your Tower Keys for final attempts. To be fair, this system favors consistent players—and, controversially, it helps whales who buy consumables for big pushes. Surprising? Maybe, but think about how many timed mechanics push you to repeat floors quickly.
💰 Loot strategy and farming
Find your comfort floor: the highest level you can clear reliably in 3–5 minutes. That’s your daily farm. Then push 5–10 floors above that once or twice weekly for ranks and big rewards. Why? Because consistency yields steady resources; risky attempts waste keys and time. Honestly, grinding random high floors without a plan won’t work the way you expect.
| Floor | Purpose | Reward |
|---|---|---|
| 1–20 | Learn mechanics | Basic mats, XP |
| 21–50 | Comfort farm | Legendary drops, gems |
| 51–80 | Weekly push | High-tier gems, Hilts |
| 81+ | Endgame tries | Exclusive cosmetics, top rewards |
⚔️ Builds I recommend (and why)
Necromancer (summoner): great sustain and safety because minions soak damage, letting you survive mistakes. Use Corpse Explosion and Command Skeletons. Prioritize life-steal gems.
Demon Hunter (multishot): mobility plus AoE makes it excellent for moving through hazard-heavy floors quickly. I’ve seen it carry groups when positioned well. But — controversial— it gets hyped too much; poor positioning kills it fast.
Barbarian (whirlwind): simple and durable. If you like face-tanking and steady clears, this will keep you alive where others fail. Build for sustained healing and mobility.
Advice: upgrade your weapon and top gems first. They give the biggest power jump per resource spent.
📊 Floor breakdown (short)
- 1–25: basics and rotations; learn enemy telegraphs.
- 26–50: elite abilities; timing matters more than raw damage.
- 51–75: multiple elites and hazards; execution is key.
- 76+: everything stacks; you’ll need optimized sets and gems.
Why this matters: mechanics scale and time limits become strict. Don’t rush—practice lower floors to reduce costly mistakes later.
🎯 Practical tips that actually help
Cooldowns: never burn all defenses at once. Keep one escape or mitigation ready. Positioning: stand where enemy attacks can be avoided and where you can hit many targets quickly. Resource pacing: long sessions drain focus—stop after repeated fails.
- Keep one defensive skill unreadied? No—keep it ready.
- Study elites on safe floors.
- Use movement skills for emergencies, not micro-adjustments.
- Recognize unwinnable rooms early and reset.
Here’s the funny part: players often hoard keys “just in case” and then never use them. Use them, learn, and iterate.
// Example rotation (Necromancer)
1. Summon minions
2. Corpse Explosion on clustered corpses
3. Bone Spear single-target
4. Bone Armor when low
// Repeat, keep defensive off cooldown
🛡️ Gear, gems, and numbers
Combat Rating gives a rough baseline, but gem ranks and set bonuses matter more in practice. Aim to upgrade core gems first—life-steal then damage. Set pieces are essential past floor 70 because set bonuses scale strongly with synergy (think of sets like tuning an engine around a single spark plug).
| CR | Floors | Gem ranks |
|---|---|---|
| 1,500–2,500 | 1–30 | Rank 1–3 |
| 2,500–3,500 | 31–60 | Rank 3–5 |
| 3,500–5,000 | 61–80 | Rank 5–7 |
| 5,000+ | 81+ | Rank 7+ |
Counterintuitive insight: sometimes lowering a defensive stat for a niche damage bonus helps clear a timed floor faster, and that faster clear nets better rewards overall. It depends on your niche and playstyle—there are exceptions.
Final notes (short)
Practice, plan, and use keys deliberately. Between us: patience beats panic. You’ll learn the Tower like a route on a mountain—step by step, with gear tweaks and a few hard lessons (ow!).
— Anna, player and guide (I’ve been climbing since 2021).