The Path of Blood in Diablo Immortal is the toughest endgame gauntlet and I’ve spent years pushing it. You’ll face floors that get harder fast, and the payoff is real: better loot, more Paragon, and leaderboard bragging rights if that’s your thing. I write from experience as a player and coach (female, been playing since 2018), so expect practical tips and honest priorities.
🩸 How the Path Works and What You Get
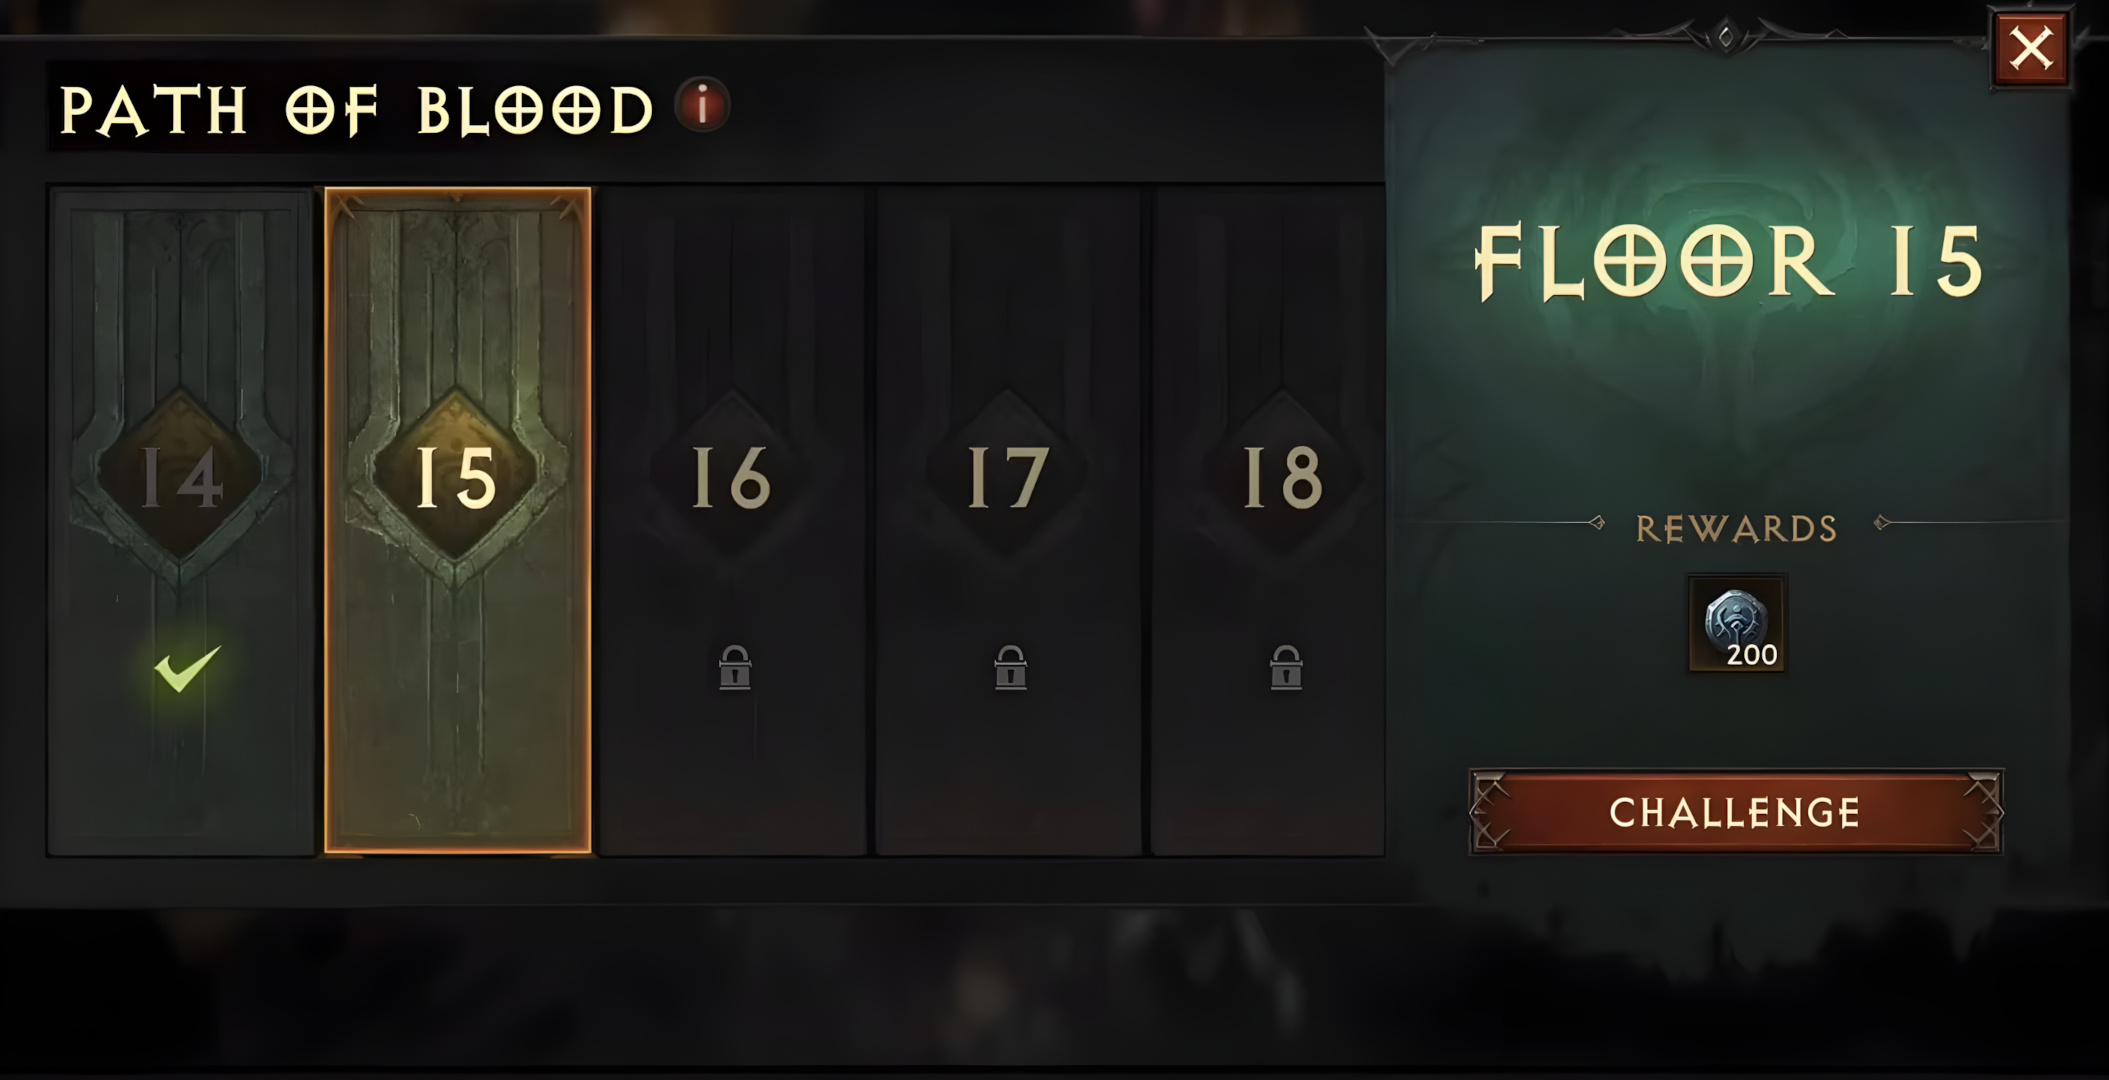
The run is progressive: clear floor 1 to reach floor 2, and each floor boosts enemy health and damage significantly. As of March 12, 2025 the system still tracks your account-best floor across all characters. Why that matters: your highest floor determines weekly rewards, so consistency beats one-off spikes.
There’s a Blood Debt mechanic: dying reduces your damage for the rest of that attempt (it stacks per death). Survive to keep your damage high—simple and punishing. This changes how you build and play; aggressive face-tanking won’t work the way you expect on later floors.
| Floor Range | Reward Tier | Weekly Scrap | XP Multiplier |
|---|---|---|---|
| 1–10 | Common | 50 | 1.0x |
| 11–25 | Magic | 100 | 1.5x |
| 26–50 | Rare | 200 | 2.0x |
| 51–75 | Legendary | 400 | 2.5x |
| 76+ | Set Items | 800 | 3.0x |
Short note: weekly rewards scale with your highest floor, not daily runs. So plan your pushes before reset to optimize scrap and gem gains.
💪 Best Builds — and Why They Work
Necromancer often shines here because minions hold aggro and your life-steal and sustain reduce risky exposure. In my experience, a minion-heavy setup lets you kite while your summons soak hits—this is why I emphasize Army of the Dead uptime.
Demon Hunter hits hard but demands flawless positioning and timing. Want quick clears? Multishot clears mobs fast; Crossbow Shot kills bosses. But: DH is less forgiving if you misstep on floors 60+ (depends on your niche and gear).
Barbarian and Crusader are viable if you invest defensively. Melee classes need careful spacing and escape tools—otherwise the Blood Debt penalty ends runs faster than you think.
Sample Necromancer Setup
- Primary: Bone Spear (Shatter)
- Skills: Army of the Dead (Dark Empowerment), Bone Armor (Frenzy), Corpse Lance (Visceral), Command Skeletons (Enforcer)
- Gems: Blood-Soaked Jade, Berserker’s Eye, Everlasting Torment, Ca’arsen’s Invigoration
“Don’t stack survivability at the cost of your damage curve; you need both—but prioritize one depending on the floor.”
⚔️ Combat Tips That Actually Help
Positioning saves runs. Learn elite attack tells and use arena cover. Kiting will carry you past floors where pure tanking fails. Honestly, knowing when to back off is as valuable as your strongest skill.
Target priority matters: remove ranged and summoners first to stop spawn escalations. Why? Because extra enemies multiply your chance of dying and triggering Blood Debt. Save your big cooldowns for elites and bosses (this is why rotations are critical).
Here’s a rough priority order I use (it’s flexible):
- Ranged attackers
- Summoners
- Fast melee
- Elite targets
- Remaining trash
Watch this: many players waste ultimates on trash. Don’t. Build a short opening rotation per floor type so you get max damage before enemies react.
Rotation example:
1) Bone Spear
2) Corpse Lance
3) Army of the Dead
Repeat when cooldowns allow
🎯 Gear, Gems, and Stat Priorities
Blood-Soaked Jade is often the strongest gem for sustained fights because it scales well with bleed strategies. Pair it with raw damage gems like Berserker’s Eye and a survivability gem (Ca’arsen’s) when you need the extra cushion. Why? Because gem scaling and ranks change how your DPS curves at floor 50+.
| Priority | Offensive | Support | Defensive |
|---|---|---|---|
| 1 | Crit Chance | Crit Chance | Life |
| 2 | Crit Damage | Crit Damage | Crit Chance |
| 3 | Attack Speed | Life | Crit Damage |
Set bonuses matter more than mixed stats at higher floors. Complete the set if it supports your core mechanic (summons, mobility, or defensive proc). There are exceptions—sometimes a single item with perfect rolls beats a partial set—but most of the time full sets win over time.
🏆 Advanced Tactics for Tough Floors
At floor 50+ enemy damage skyrockets and mistakes become expensive. You’ll need optimized gem ranks, tuned stat allocation, and escape skills ready. My checklist before a hardcore push:
- Gems rank 5+ (target)
- Set bonuses complete
- Backup escape skills slotted
- Consumables prepped
- Arena and elite patterns memorized
Oddly enough, watching your own replays helps more than you’d think. I record runs and often spot a single misposition that cost the attempt. Want a counterintuitive tip? Lowering pure defensive stats to increase mobility sometimes nets better survival on floors with movement hazards.
Psychologically: take breaks. Fatigue causes sloppy choices. If you’re burning out, step away—this runs on patience as much as skill.
📊 Loot, Drops, and Farming Reality (Updated to 2025)
As of March 12, 2025 drop tables look like this: legendary rates improve by floor tier and set items become common near the mid-60s. That means pushing consistently to 50–70 yields far better long-term returns than random spikes.
| Floor Tier | Legendary Rate | Set Item Rate | Gem Drop Rate | Weekly Scrap |
|---|---|---|---|---|
| 1–20 | 5% | 0% | 15% | 75 |
| 21–40 | 12% | 2% | 25% | 150 |
| 41–60 | 25% | 8% | 35% | 300 |
| 61–80 | 40% | 18% | 45% | 600 |
| 81+ | 60% | 35% | 60% | 1200 |
Casual players should farm 20–30. Intermediate players aim for 50. Advanced players should be farming 70+. Elite leaderboard fights? That’s a different beast (and, controversial take, sometimes rewards time spent more than pure skill).
Optimal Farming Strategies
- Prioritize a consistent floor you can clear weekly.
- Push for small, sustainable upgrades rather than one perfect roll.
- Swap sets between floors when modifiers demand it.
Here’s the funny part: grinding one floor repeatedly teaches you patterns faster than jumping around. It’s boring, yes, but it works.
Final Practical Notes
Progression here is a marathon. You’ll stumble—literally and figuratively—and that’s okay. Repeatability beats one-off success, and adapting your build to each modifier is where wins come from. To be fair, a lucky drop changes everything, but don’t rely on luck; plan for steady improvement.
Surprising insight: sometimes a small mobility tweak (swap one defensive roll for movement speed) yields more successful clears than a +20% DPS increase. Think of Path of Blood like climbing a cliff: sometimes the right step matters more than stronger arms.
Got questions about your specific build? Tell me your class, floor target, and gem ranks and I’ll point out the quickest changes to try—between us, quick swaps often unlock big gains.
—Maya