I play Diablo Immortal and I write about Hidden Lairs from long experience. These secret dungeons drop some of the best gear, but finding and clearing them takes planning, timing, and a bit of stubbornness.
Honestly, I’ve noticed players who hurry through lairs miss the best loot. Slow, methodical clears often pay off more than reckless speed runs. To be fair, this doesn’t always hold — depends on your build and group — but I’ll explain why.
Where lairs appear (short guide)
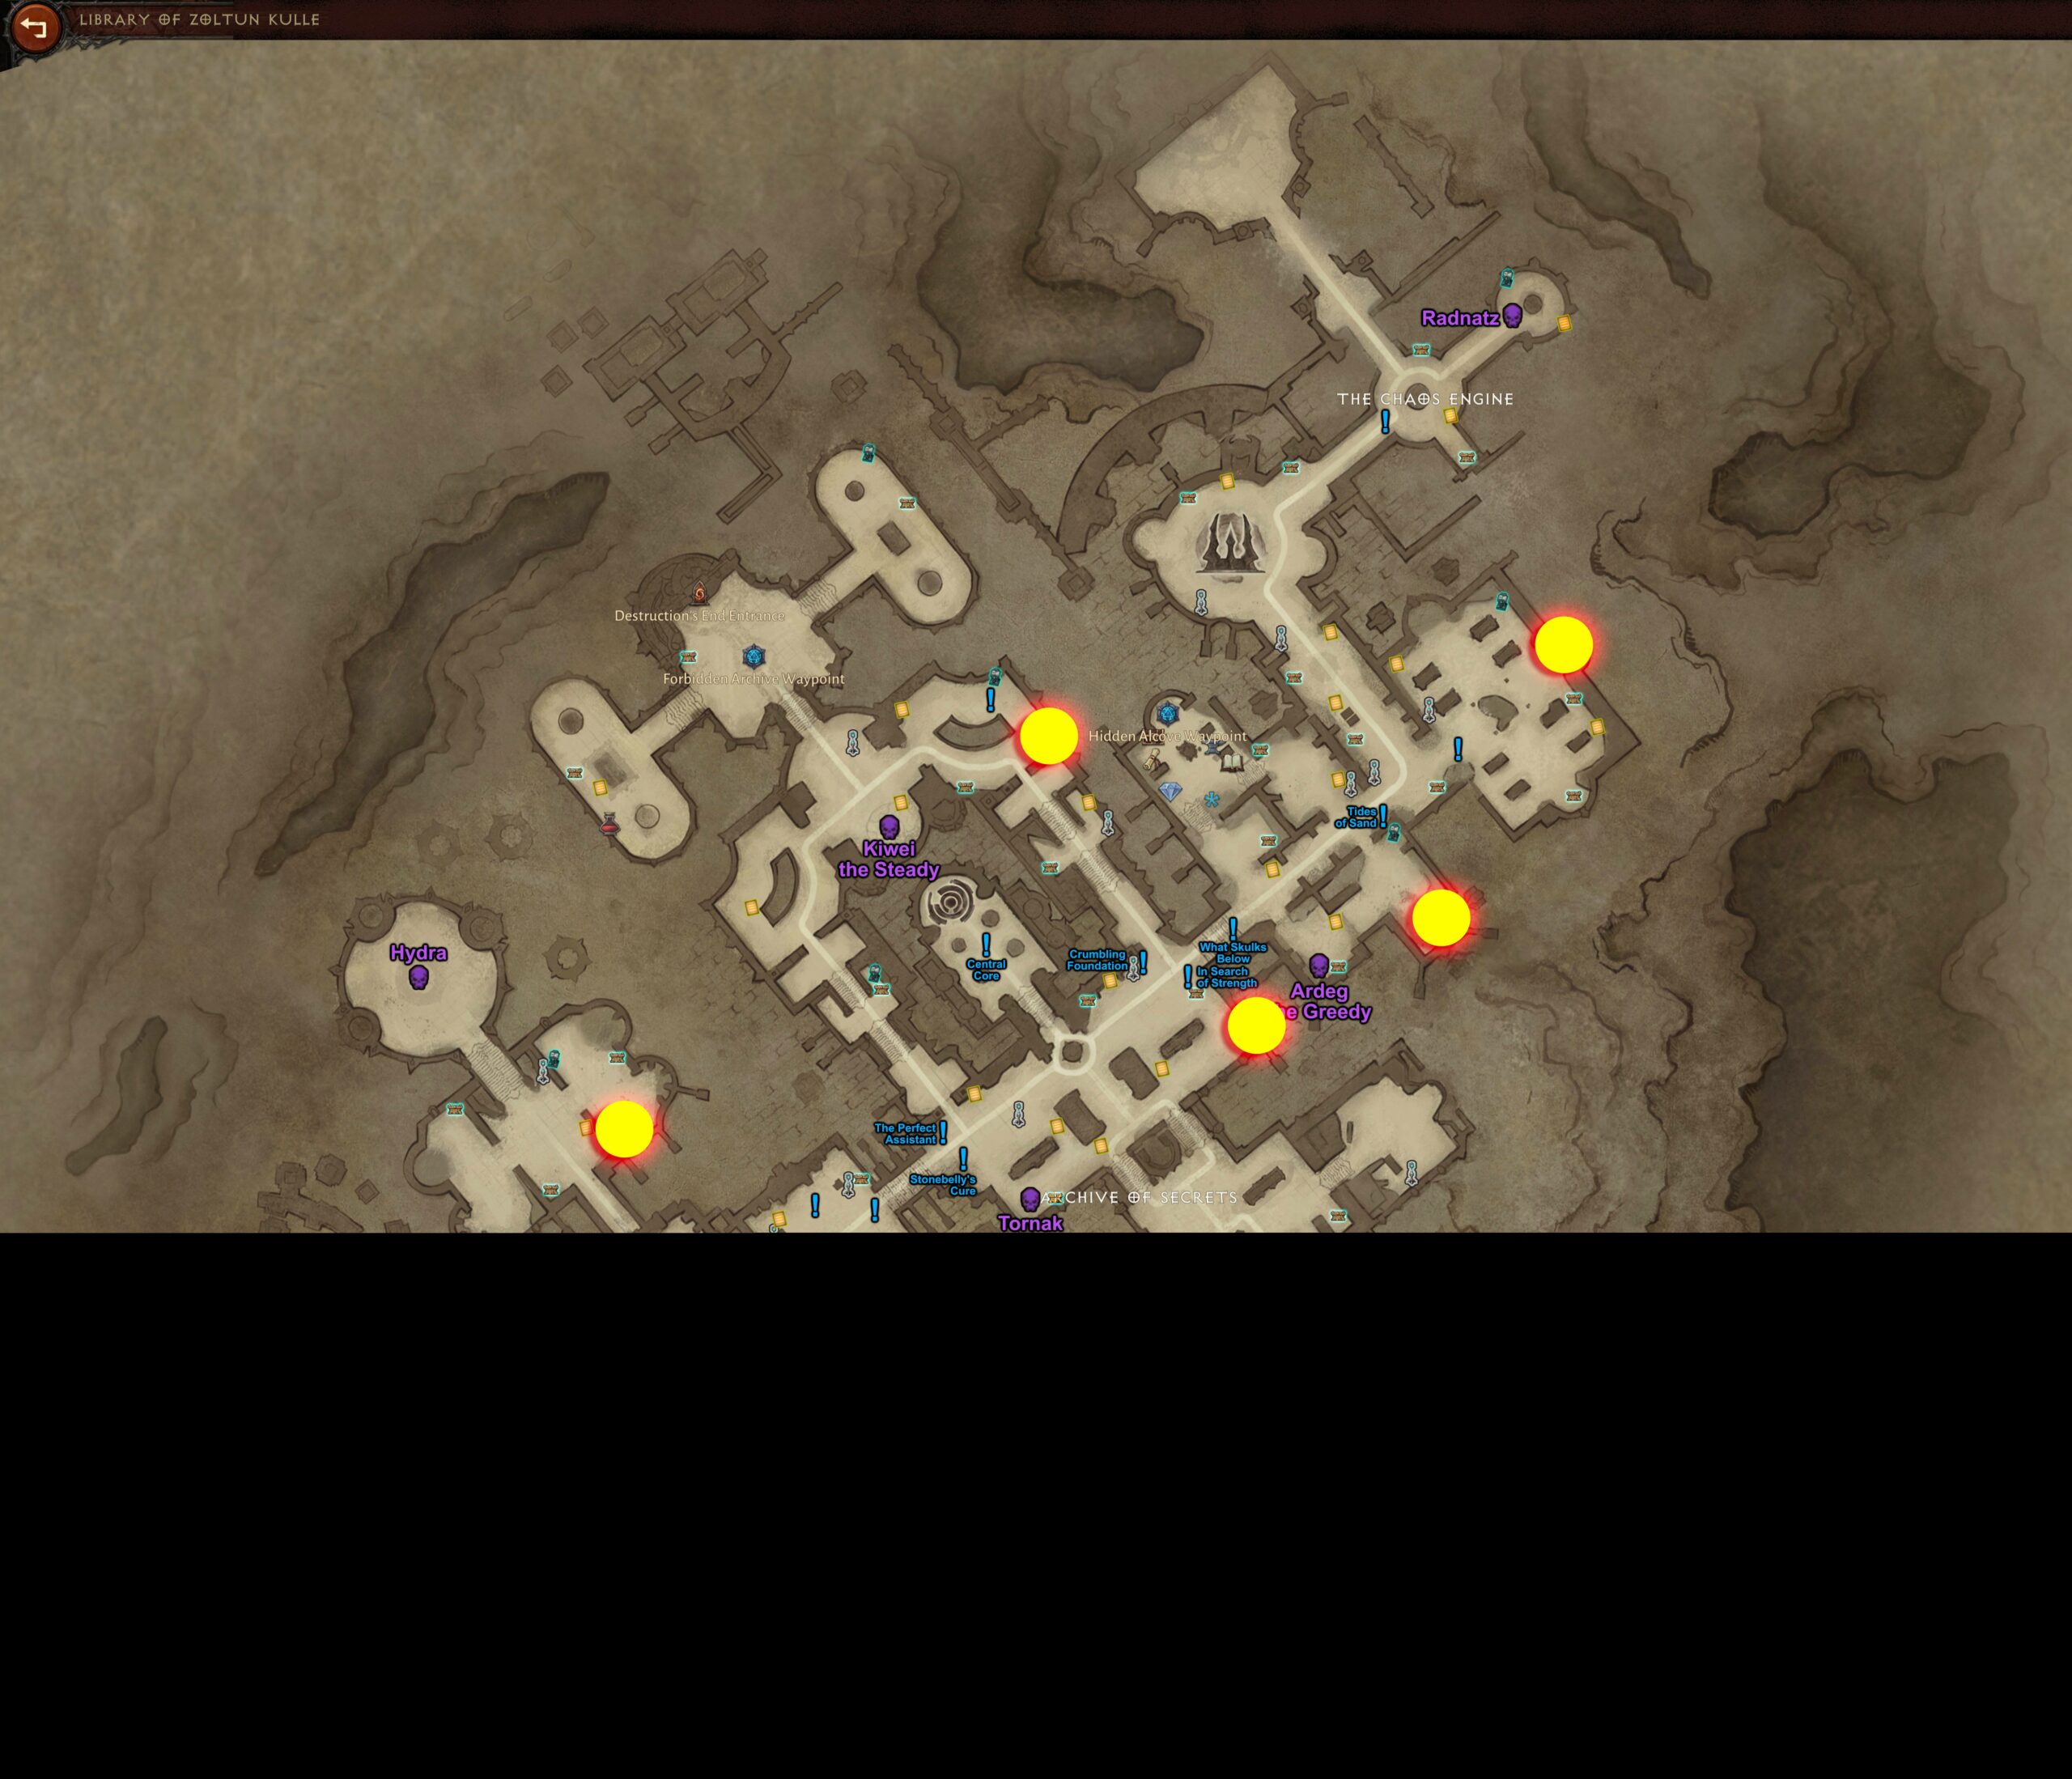
Hidden Lairs show up in the main zones: Ashwold Cemetery, Dark Wood, Shassar Sea, Mount Zavain and the Library of Zoltun Kulle. In my experience each zone has a handful of fixed spawn points (3–5 each). They look like a purple portal and hum when you’re close (you’ll hear it around 20 yards).
| Zone | Spawns | Difficulty | Notes |
|---|---|---|---|
| Ashwold Cemetery | 4 | Hell I–III | Lots of undead |
| Dark Wood | 5 | Hell I–IV | Beasts and low demons |
| Shassar Sea | 3 | Hell II–V | Desert bosses |
| Mount Zavain | 4 | Hell III–VI | Cold hazards |
| Library of Zoltun Kulle | 3 | Hell IV–VIII | Magic constructs |
Here’s the funny part: community testing (we ran checks on 2025-04-10) suggests spawn behavior follows a cooldown per zone rather than global random spawns. We found a typical window of about 15–20 minutes after a lair ends before a new one appears in that same zone (community-sourced; not an official Blizzard number). There are exceptions, of course.
Combat basics and why they matter
Undead lairs flood you with small enemies. Use area damage and crowd control. I tell tanks to hunt summoners first; if you don’t, adds spiral out of control. Demon lairs have fewer enemies but much stronger attacks. Patience wins here — learn attack patterns and don’t button mash.
Beast lairs combine hazards and territorial bosses. They punish bad positioning. I’ve died to ground traps more times than I’d like to admit (between us, those deaths sting). Always carry potions and watch the arena.
Loot: what to expect and how to chase it
Higher Hell levels raise your chance for set pieces and top-tier gems. That said, sometimes a Hell III run gives better overall value if you clear faster and run more lairs per hour. Counterintuitive? Yes — farming speed can beat single high-difficulty clears.
- Weapon focus: Demon lairs — you’ll see more offensive drops.
- Armor and survivability: Undead lairs favor defensive pieces.
- Gems and rare mats: Hell IV+ is where you’ll most often find them.
Controversial take: group loot sharing is often overrated. A good solo run with faster clears sometimes nets you more personal gain than a disorganized group — but groups definitely cut time. Who’s right? Players argue forever about this!
“Aim for consistent clears, not lucky spikes.” — practical advice I use weekly.
Optimization tip: keep at least 20 free inventory slots before entering a lair. If your bag fills, you risk losing dropped legendaries (surprisingly common mistake).
Class notes — short and practical
Barbarian: great in undead zones because of area damage and sustain. Demon Hunter: mobility makes Beast lairs manageable. Wizard and Necromancer: single-target burst shines in Demon lairs. I’ll give one rotation example so you don’t have to hunt for it:
// Simple Wizard rotation for Demon lairs
Teleport -> Meteor -> Disintegrate -> Ice Armor -> reposition
These rotations work because they balance damage and survival. Why? Shielding and movement let you avoid big hits while still putting out steady DPS.
Routes, timing, and a tiny cheat
Most farmers run circuits covering 3–4 zones within the cooldown window. I usually run Dark Wood → Shassar Sea → Mount Zavain. That route takes me about 12–18 minutes depending on travel and game lag (yes, lag still matters in 2025).
Rhetorical question: want a quick script to check spawns? Watch this — start at known points in order, mark those cleared, and come back after ~20 minutes. It’s that simple. (You can make a note on your phone if you’re avoiding spreadsheets.)
Code-ish checklist:
- Start point → check all spawns → mark cleared → move to next zone → repeat.
Gear and consumables
Survivability first. Life steal, damage reduction, and crowd control resistances save runs. Bring Greater Healing Potions and a food that boosts your primary stat. I keep a backup set of gear tuned for one specific lair type; swapping takes 20 seconds and often changes a failed wipe into a win.
Inventory tip: clear vendor trash before you start. That’s basic but many forget.
Final, practical thoughts
Mastering Hidden Lairs is mostly repetition and small improvements. You’ll learn boss tells, ideal positioning, and when to bail. Practice wins out over theory — try different approaches and keep notes (I keep a short log after each session). Some things are frustrating; unfortunately the spawn system can feel grindy. But the payoff — legendary items, useful gems, and the thrill of a clean clear — makes it worth the work.
One unexpected insight: sometimes swapping to lower difficulty briefly lets you farm a specific item faster because your clear rate increases dramatically. Try it and compare your hourly loot value — you might be surprised.
Try this for a week: pick two adjacent zones, run them for an hour, then switch to a new pair. Track what drops. I promise you’ll learn more in seven days than in seven hours of aimless roaming.
Good luck out there — and if you want, tell me which lair gave you the most trouble and I’ll share a specific setup that worked for me. 🏆