Managing the people in your Baldur’s Gate 3 party decides a lot: survival, story options, and how annoying certain fights feel. I’m a longtime player and DM; I’ve noticed good party choices save hours of reloads and frustration. As of 2025 the game still uses a four-character party cap, and you swap members mostly from the camp area. Simple. Practical. Useful.
Who goes with you depends on the challenge. Want traps cleared? Bring a thief. Facing magic? Bring a caster. I’ll explain why those picks matter, not just tell you what to do. And yes—there are exceptions depending on your playstyle and the quest (depends on your niche).
Camp: where swaps actually happen 🏕️
Open camp with the campfire icon. Talk to any recruited companion to invite or dismiss them. You can’t change party mid-combat or during scripted scenes, so pick a safe moment. I’ve found walking to a nearby safe zone and pausing there saves bugs and awkward cutscene misses.
Dismissed companions remain in camp and generally stay level-appropriate while you keep playing (so you won’t underlevel people you left behind). Before you send someone back, take their best gear off if it matters—transferring is easier while they’re still in your active party.
Quick note: gear in camp is persistent, but tracking items is the real chore. Keep one character as your main carrier.
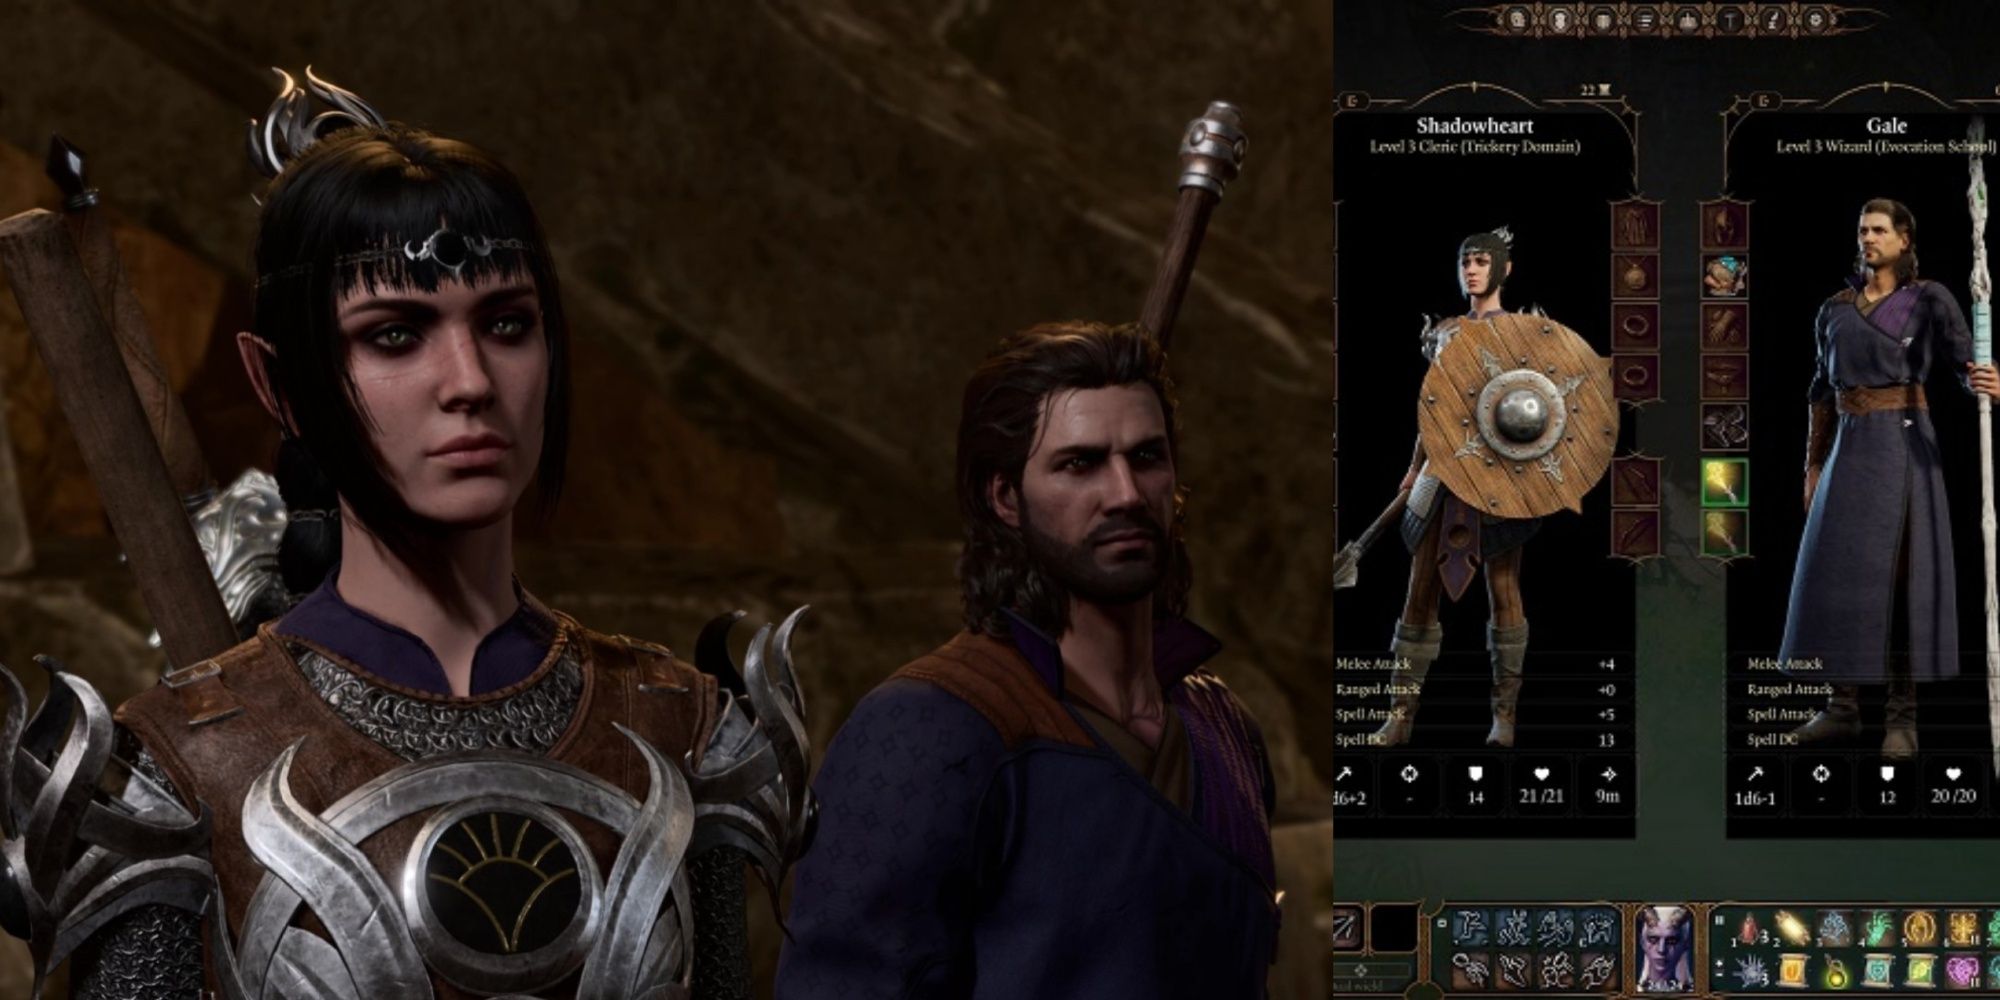
Party UI and what to watch for
| Element | Why it matters |
|---|---|
| Portraits | Shows who’s active and roughly who’s missing |
| Camp icon | Jump back to swap members or rest |
| Companion markers | Shows companions with personal quests or dialogue flags |
Look at levels and a few key stats in the selection pane. Why? Because your decisions should be tactical, not emotional—unless you want roleplay over optimization (totally valid).
When to swap during quests ⚔️
Swap at natural breaks: after a boss, between areas, or before a major dialogue. If you change mid-objective, you might miss companion reactions or break triggers. Honestly, I’ve lost hours because I swapped at the wrong second—lesson learned.
Think about which companion has skin in the game. Why? Because some scenes only trigger when that companion is present. For example, Shadowheart often changes options for Shar-related beats. That’s why I keep companions whose quests are active with me more often.
Rhetorical question: do you need every companion in every fight? No. Sometimes a smaller, focused team runs circles around a bloated one.
Inventory: the ugly, necessary work 🎒
Inventory is the part that’ll ruin a good run if you ignore it. In my experience, designating one character as the “pack mule” for potions and keys prevents repeated trips to camp. Keep these on that character:
- Healing potions and emergency scrolls
- Lockpicks and traps tools
- Quest keys (double-check—they can be character-tied)
- Trade items you don’t use every fight
There are exceptions: sometimes a companion must keep an item for their personal quest. Don’t remove it blindly. (Yes, I did that once.)
Tip: keep a “camp outfit” set separate from combat gear. Saves time and brain cells.
Practical party builds (examples)
| Role | Good choices | Why |
|---|---|---|
| Tank | Karlach, Lae’zel | Soak damage, hold aggro |
| Healer/Support | Shadowheart, Halsin | Keep team alive, buff |
| DPS | Astarion, Wyll | Fast kills, high burst |
| Control/Utility | Gale or a custom wizard | AoE, debuffs, flexible checks |
For exploration focus on skills rather than raw damage: Perception for traps, Sleight of Hand for locks, a face with Charisma for dialogue. Why? You avoid fights and unlock more content—more story, less slog.
Fast habits that actually save time 💡
- Save by party composition names: “Tank+Healer+Rogue” helps. You’ll thank me later.
- Use waypoints or fast travel if available to hop between camp and area.
- Set simple formations—place your ranged behind tanks before you enter rooms.
One controversial take: grinding approval constantly is overrated. You don’t need to rotate people in just to keep hearts green. Major decisions affect everyone who’s recruited; small daily gifts aren’t always necessary. Some will disagree strongly—fine, debate away!
Advanced touches
Split your party to grab a skill check while the rest waits (watch this: it often saves time and keeps story flow intact). Use drag on portraits to move one character ahead for a lock or lore check, then regroup. It won’t always work the way you expect, though—there are exceptions when the game forces group proximity.
// Example quick-bind idea (illustrative)
bind "camp" "F5"   // jump to camp (your keybinds may differ)
bind "toggle_form" "G"  // regroup/ungroup shortcut
Oddly enough, sometimes a non-optimal party is best for a memorable scene—like bringing a healer to a diplomatic talk because of their backstory. That’s why roleplay beats min-maxing occasionally. Between us, those are the runs I remember most.
Counterintuitive insight: removing a strong single-target DPS for a crowd-control caster can be faster in fights with many weak enemies. You clear space, reduce damage taken, and spend fewer resources. Try it once.
“Treat party composition like seasoning: too much of one thing ruins the dish.”
Final practical checklist (short):
- Check active companion quests
- Confirm who needs certain items
- Swap at safe breaks
- Keep a main pack mule
- Save with descriptive names
Yes, you’ll experiment. I do. You’ll find weird synergies and, sometimes, a companion who makes a fight trivial. That’s the fun. Go try combinations and don’t be afraid to reload if something goes sideways—sometimes you learn faster that way. Okay, I said I wouldn’t be perfect here—so this sentence stumbles a bit—sorry, not sorry.
Enjoy the game. Be deliberate with swaps, and remember why you brought each person: for the skill, the story, or just because you like them. All three are valid. 🎮