The “Save Mayrina” quest in Baldur’s Gate 3 is a tight, dark rescue that starts in Act 1 and forces hard choices fast. I’ve played it many times; honestly, it’s messy and brilliant at once. Updated 12 March 2025: tips below reflect patch changes to hag resistances and a few HP tweaks.
Finding Mayrina in the Sunlit Wetlands 🌿
Your first clue shows up southwest of the Blighted Village, in the Sunlit Wetlands. Walk toward the pretty marsh and watch for an illusion hiding a rot-filled bog. You’ll need a Perception check or a Detect Magic-type ability to see through it. In my experience, players who skip the check miss the whole atmosphere.
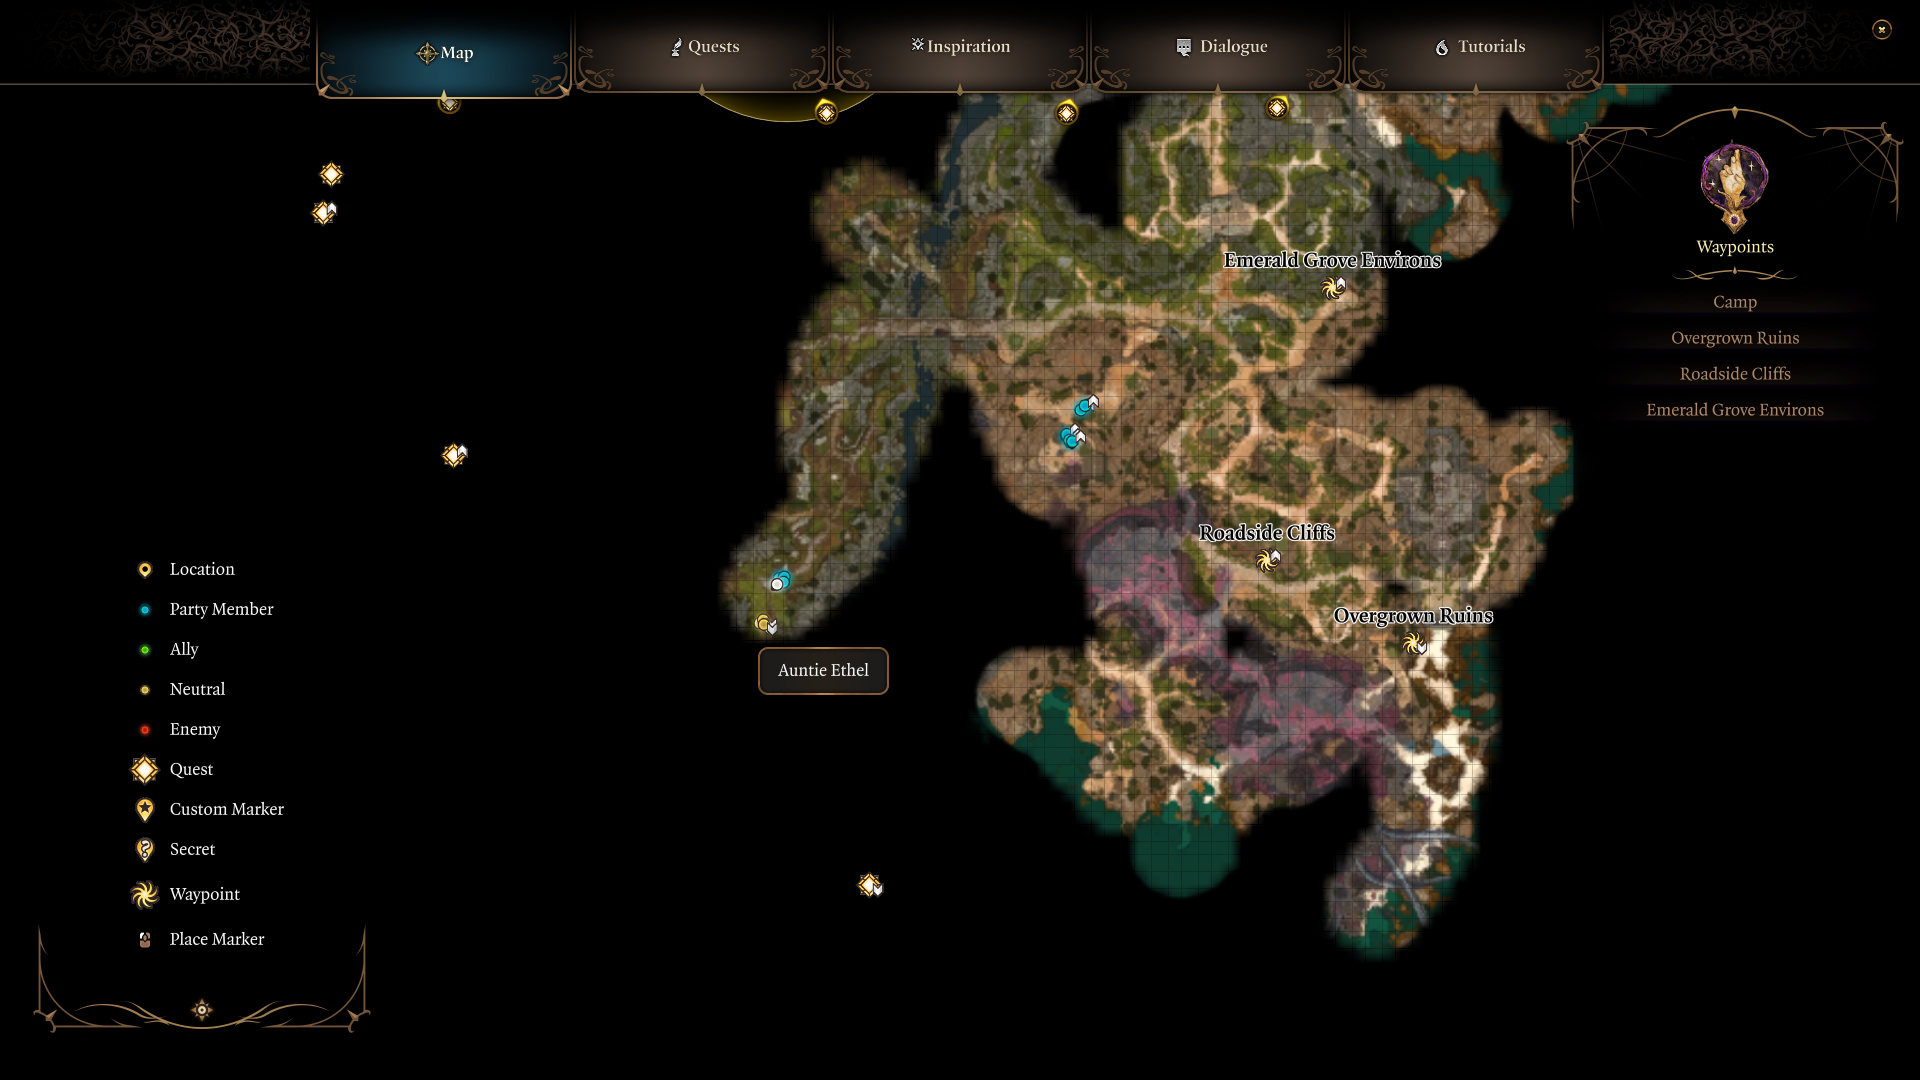
You trigger the quest by catching Demir and Johl arguing with Auntie Ethel outside her teahouse. She claims Mayrina came with her willingly. What would you do—step in right away or tail them for more info? Both choices change how the scene unfolds (this doesn’t always work the same way depending on saves and party skills).
Pro tip: search the area first. There are small clues (talking sheep, odd trinkets) that tell you something supernatural is at work. We found a few extra consumables here when we looked carefully.
Deceptions at the Riverside Teahouse 🎭
Inside the teahouse, Ethel keeps up a pleasant mask: tea, pie, feigned warmth. Talk to Mayrina and you’ll see she’s upset though she says she came voluntarily. Push too hard and Ethel reveals herself as a hag. If you pressure her she’ll vanish through a fireplace—yes, really—taking Mayrina.
Options matter: intimidate, bargain, fight, or play along to gather intel. Each moves the story differently. I’ve noticed players who bargain often regret the short-term gain later (controversial: the +1 is usually a cheap payoff compared with what follows).
Following Through the Fireplace
Investigate the fireplace carefully to find the hidden switch. That opens a passage to the Overgrown Tunnel. Watch your step—this tunnel is full of traps, illusions, and angry former victims.
Navigate the Overgrown Tunnel Traps ⚠️
The tunnel throws several challenges at you: a talking, stubborn door; poisonous gas pockets; explosive mushrooms; and masked victims who attack on sight. Be methodical. Use high-Perception characters to sweep for traps and keep a healer ready for poison ticks (poison can ruin a run if you ignore it).
- The door (Gnarled Door) responds only to specific items or routes.
- Masks let you pass but carry curses—wear one and you risk party control.
- Mushroom circles hide an alternative bypass; you can search it instead of using masks.
- Masked victims are former captives—expect moral discomfort when they die.
The Whispering Masks are tempting. I warn you: wearing them unlocks the door but often turns the wearer against allies. Oddly enough, some players treat masks like a safe shortcut; I think that’s lazy (and sometimes exploitative!).
Boss Fight: Auntie Ethel 🗡️
Ethel’s lair puts Mayrina in a cage over a chasm and layers the fight with illusions, invisibility, and control spells. She clones herself visually, so don’t waste single-target damage early. Why? Because those copies soak abilities and bait your cooldowns.
Practical tactics:
- Reveal the real Ethel (look for slight HP differences or behavior).
- Use area effects to thin duplicates quickly.
- Hold big bursts for when she’s low to prevent a last-second vanish.
- Keep someone near the cage controls to free Mayrina when the chance comes.
When she’s almost dead she will bargain: +1 to an ability in exchange for her life and Mayrina. This is where players split. Personally, I usually refuse—why give power to someone who just tried to enslave an innocent? But there are exceptions; it depends on your long-term goals (and your character type).
Mayrina’s Cage and the Wand Decision 💀
Freeing Mayrina needs care. Use the correct control (or the Gnarled Oak extract) to lower the cage slowly. If you flick the wrong control you can drop her—don’t laugh, I’ve seen it happen. Here’s a simple code-like note for the mechanism (useful to copy into a quick guide):
// Quick sequence to lower cage:
// 1. Disable nearby rune (inspect left panel)
// 2. Pull lower lever, then right dial
// 3. Hold until cage settles
After rescue she admits she wanted to raise her dead husband Connor. You’ll find the “Bitter Divorce” wand that can raise him. Choices:
- Give Mayrina the wand and let her raise Connor.
- Keep the wand for yourself.
- Destroy the wand to stop the cycle.
- Convince her to let Connor rest.
Counterintuitive insight: letting Mayrina resurrect Connor can cause less immediate chaos in later acts than you’d expect. Seriously — sometimes the “obvious” moral choice creates harder ripple effects. This is touchy and debatable though (between us, I still hate the results when I try it).
Rewards, Consequences, and Practical Notes 📊
| Choice | Immediate | Long-term | Mayrina |
|---|---|---|---|
| Kill Ethel, Save Mayrina | Loot, XP | Mayrina mourns; possible later encounter | Alive, grieving |
| Accept Ethel’s Deal | +1 Ability Score | Mayrina stays; moral cost | Enslaved |
| Give Wand to Mayrina | Gratitude | Connor undead; awkward travel | Together, uncomfortable |
| Keep/Destroy Wand | Wand or nothing | Mayrina angry but free | Free, must cope |
Loot note: you can find a powerful bow (Spellthief), scrolls, potions, Whispering Masks, and some unique trinkets. If you accept Ethel’s deal you might also get a personal keepsake—her hair (gross, but true!).
Advice: if you want a clean run, prioritize perception and saves. Why? Because the tunnel and hag favorite status effects will kill a sloppy party.
There’s no perfect ending. Each route has pushback later on; choices stick. Sometimes I choose the harsh path because it fits the character I play. Sometimes I don’t. There are exceptions, and the game often surprises you—yes, even after seven runs. You’ll decide who you are. Who will you be?
—Marina, player and writer (I’ve played this quest more than I probably should).