I play Druids a lot, and I’ll tell you plainly: Wild Shape is the tool that makes the class feel alive. I’ve used it to scout, soak hits, and pull off nasty battlefield control. You’ll want to understand how it works, why some forms matter more than others, and which choices actually change fights (not just look cool).
How Wild Shape works in BG3
Wild Shape unlocks at level 2. When you shift, you get the beast’s HP as a separate pool and keep your mental stats (Int, Wis, Cha). Your prof bonus stays. Equipment goes inactive while you’re in beast form (so plan buffs ahead). In my experience, that separate HP pool is the single biggest reason to use Wild Shape in drawn-out fights.
Short version: two uses per short rest until level 20, when you stop counting uses. Moon Druids get stronger forms earlier — we found that makes them the easiest to use as frontline tanks. This doesn’t always work the same way across every patch (depends on your version), so check your game build if something feels off.
Early forms I recommend
Badger, Wolf, Spider — those are the simple winners between levels 2–5.
- Badger — low profile, useful for repositioning and annoying bleed. Honestly underrated.
- Wolf — pack tactics are huge. You get advantage more often, and chase-downs become trivial.
- Spider — web and wall-walking open tactical options most people ignore (useful for ambushes).
Want quick examples? Use a Spider to block a choke point with webs, then shift to Wolf to finish off targets. Sounds obvious, but players rarely chain like that.
Key forms (reference)
| Form | When | Role |
|---|---|---|
| Badger | Lv 2 | Scout / reposition |
| Cat | Lv 2 | Stealth / mobility |
| Spider | Lv 2 | Control / exploration |
| Wolf | Lv 2 | Skirmisher / support |
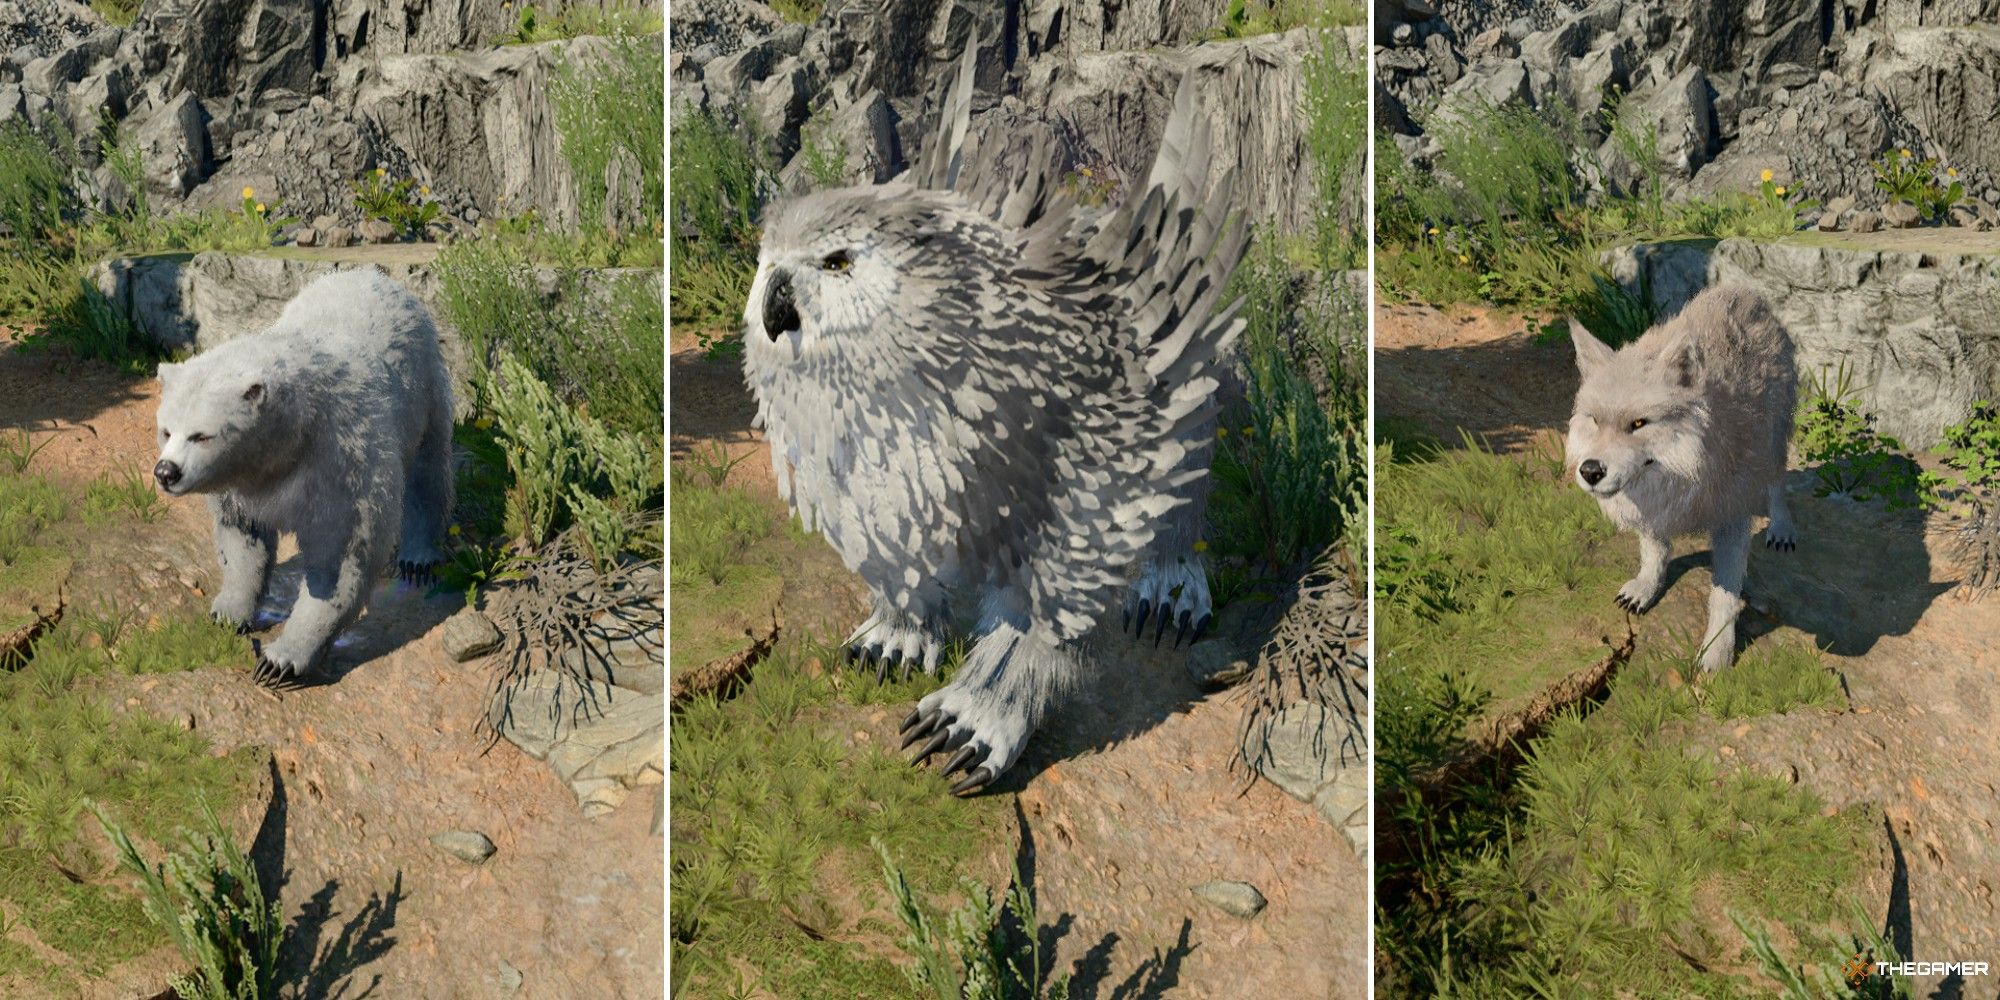
| Bear | Lv 6 | Tanker |
| Owlbear | Lv 6 | Damage / disrupt |
| Elementals / Myrmidons | Lv 10 (Moon) | High-impact elemental roles |
“I often pick the form that answers the problem, not the form that looks strongest.” — personal rule
Combat tips that actually work
Use defensive forms to absorb hits and protect mages or rogues. Bear is your obvious pick for that; it forces attention and eats damage. Offensive forms like Owlbear or Sabre-Toothed Tiger deal chunks of damage — use them to cut down priority targets quickly. Utility forms (Spider, Dire Raven) change how a fight starts — want to open from air or lock a flank? Pick those.
Why these picks? Because each form changes engagement options. A Spider gives you terrain control; a Wolf gives you setup for allies. Don’t just pick the highest HP creature; pick the tool that wins the moment.
Build notes and feats — practical choices
Wisdom is still primary. Constitution matters more than many players admit (concentration checks while shifted are real). I’ve noticed a lot of players grab War Caster and never regret it, but Alert? It’s useful early; later it feels overrated compared to Tough. Controversial: Alert is more show than substance most times.
- War Caster — keeps your concentration steady.
- Tough — simple and effective, more HP is always handy.
- Mobile — helps hit-and-run with lighter forms.
Multiclass note (controversial to some): dipping 1–2 levels in Barbarian can be brilliant. Rage grants resistance and stacks with Wild Shape tanking (yes, it works). It also gives unarmored defense, which can raise your beast AC in practice. There are exceptions, but I’ve found this combo carries fights my straight-Druid build won’t.
// Example quick macro idea (PC players)
useWildShape("Bear"); // then taunt and hold the line
Progression highlights
Level 2: basic Wild Shape, two uses per short rest. Moon Druids can access higher-CR options earlier — that’s a real power spike. Level 6: Moon Druids gain stronger transformations; level 10: elemental options (if you chose that path). Level 20: practically unlimited usage.
When not to Wild Shape
Sometimes staying human wins. Why? Spell utility and ranged control sometimes beat a melee swap. Also, Wild Shape removes armor/weapon enchantment benefits — that can cost you damage. To be fair, switching forms mid-fight isn’t free; there are timing costs and edge cases (some boss fights have weird resistances or scripted checks).
One counterintuitive insight
Smaller forms can be better for long encounters because they draw less aggro and force enemies to split their focus. It’s like using a mosquito instead of a battering ram — annoying, surgical, and often decisive. Oddly enough, sneaking in and out as a Cat or Spider can save your whole party.
Short checklist
- Pick forms to solve a problem (not because they look strong).
- Cast buffs before shifting when possible.
- Use Moon for frontline ambitions, normal Circle for support and flexibility.
One last honest aside: people tell you to master every form. That’s unrealistic. Learn three forms well, and you’ll do more than 90% of players. Try them on Aug 3, 2023 patch builds or whatever update you’re on (check your exact version), and tweak as you go — there are exceptions and balance changes crop up.
May your shifts be clever, your timing sharp, and — between us — don’t be afraid to laugh when a plan fails; it’s how you learn. — Anna 🌿🐺