I teach Valheim teams and run solo boss clears; this is my straightforward Elder guide. I’ve noticed most failures come from poor prep, not bad luck. Prepare differently for the Black Forest — gear, position, and knowing the Elder’s tells matter. Ignore roots, vine volleys, or stomps and you’ll die fast.
Many players arrive undergeared and leave frustrated — lost items, wasted Ancient Seeds, long walks back. Honestly, a single skilled archer often flips the fight; mobility plus fire damage beats raw melee in most Black Forest arenas (we found that again and again).
- 🌲 Where to find the Elder and runestones
- ⚡ Gear and consumables (practical prep)
- 🔥 Farming Ancient Seeds & summoning
- ⚔️ Combat: my A.R.C.H.E.R. framework
- 🧾 Mini-cases (real numbers)
- 💥 Pitfalls and controversies
- 💡 Rewards and what to do next
- 🔁 Counterintuitive insight
- 🛠️ Quick checklist
- 🔧 Final tips, quick framework
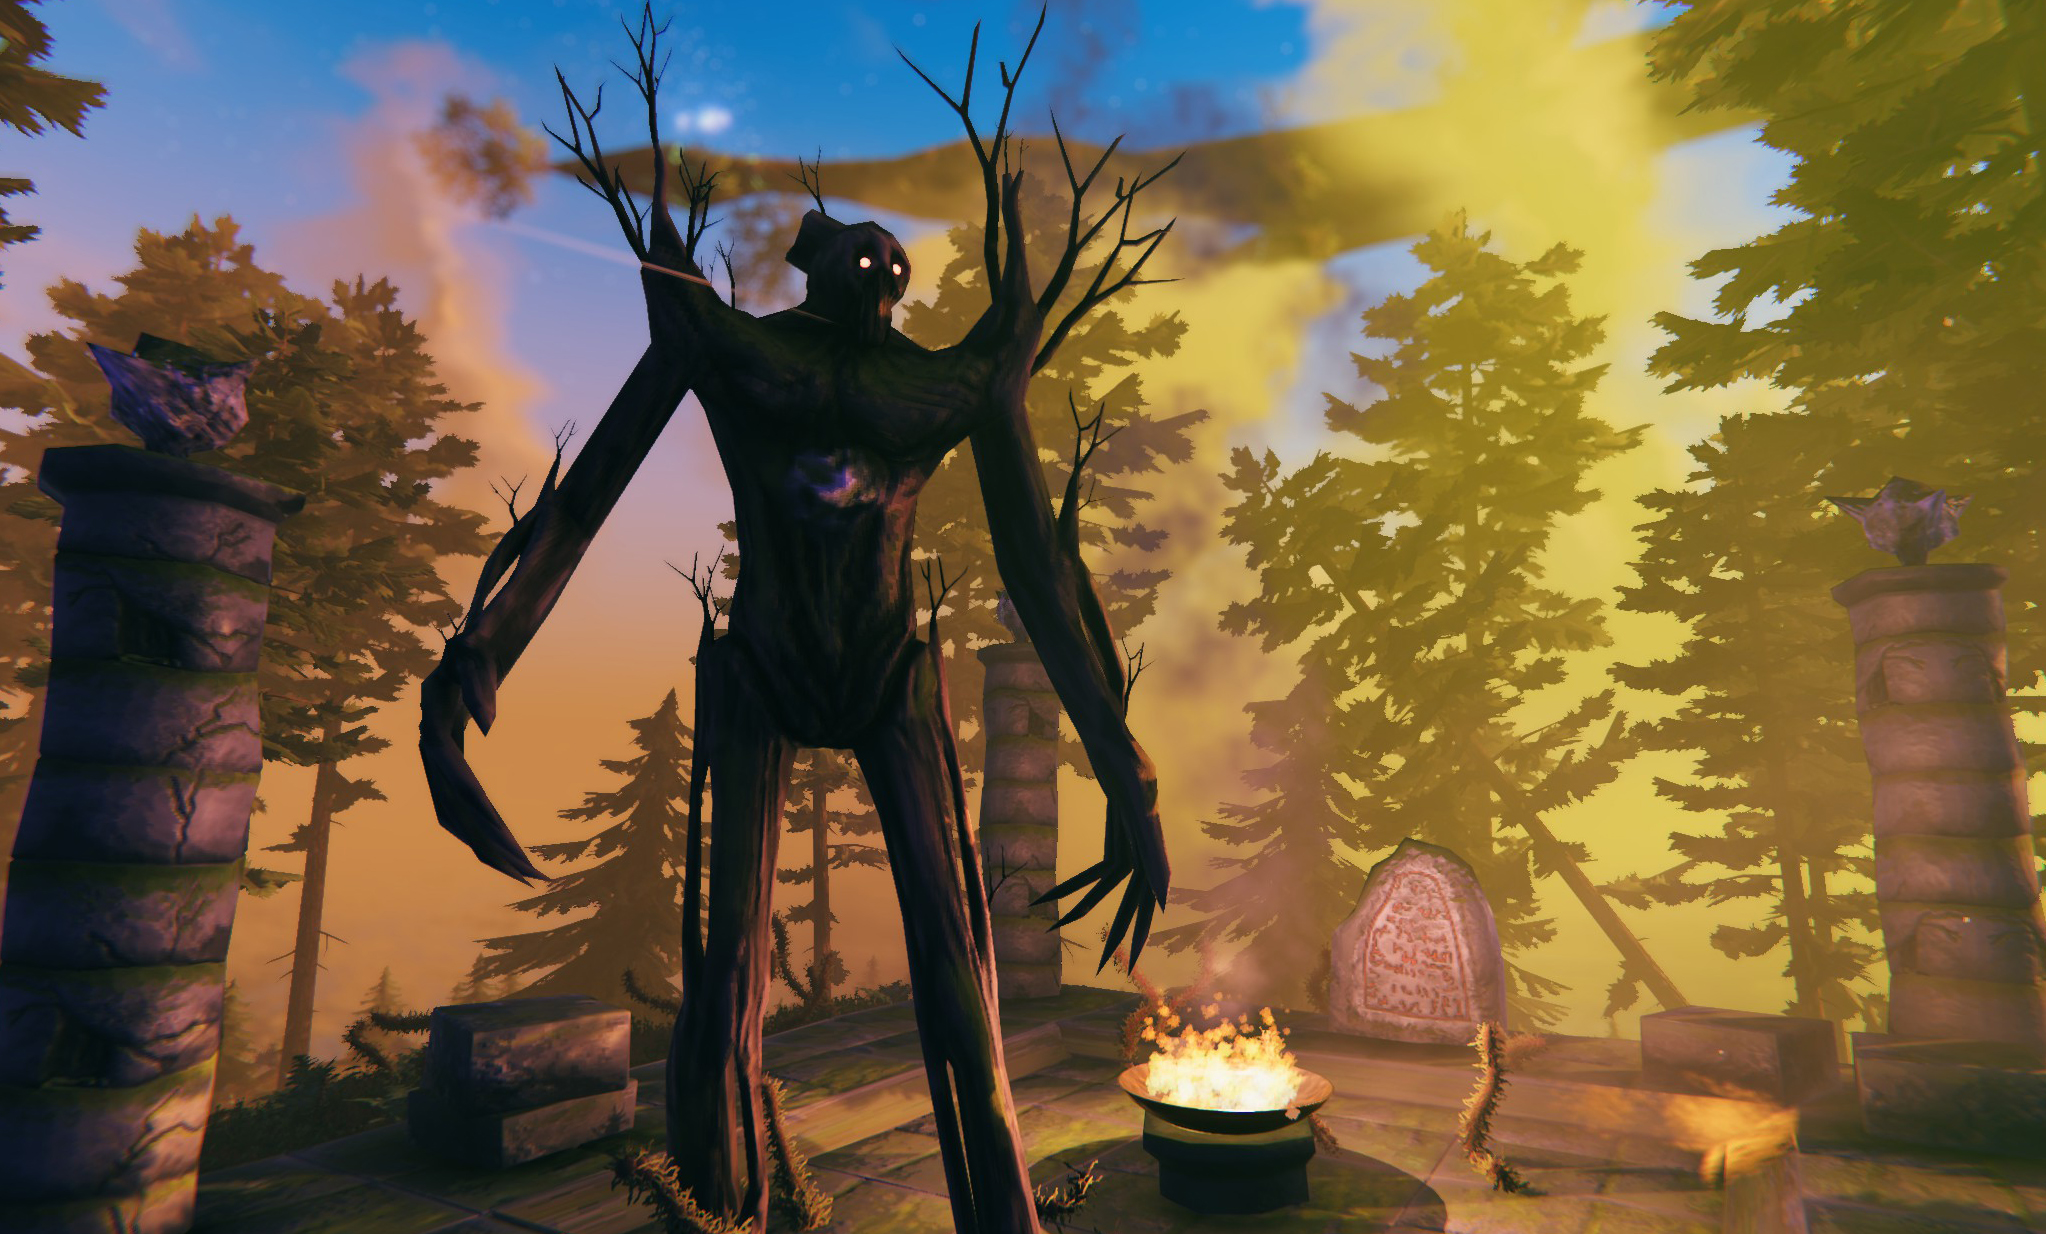
🌲 Where to find the Elder and runestones
Look for tall dark stones with red runes in the Black Forest. Interact and your map marks the altar. On March 15, 2024, a runestone spawned 1.2 km west of our base during a three-player run (world spawns vary).
Runestones cluster in bigger Black Forests. If your forest is patchy, check biome edges — I once found two stones in a small patch near a burial chamber (oddly enough, one was behind a collapsed longhouse). You only need one altar to summon.
⚡ Gear and consumables (practical prep)
Be specific. I usually bring a Finewood Bow, a high draw skill, and 200+ Fire Arrows for solo. For three players plan ~100 fire arrows each — we used ~110 combined on March 15, 2024 and finished quick.
| Item | Target | Why |
|---|---|---|
| Finewood Bow | Level 2+ | Primary DPS |
| Fire Arrows | 200+ (solo) | Main damage |
| Bronze Armor | Tier 2+ | Survive hits |
| Buckler | Level 1+ | Block stray vines |
| High-tier food | 3–4 stacks | HP & stamina |
| Stamina meads | 8–12 total | Keep moving |
| Building mats | 50 wood, 20 stone | Quick cover |
Food matters. High-tier meals that boost both health and stamina beat several cheap meals. Bring a backup chest near the altar if you can (this doesn’t always work if you’re far from your bag).
🔥 Farming Ancient Seeds & summoning
Ancient Seeds drop from Greydwarf Brutes and Greydwarf Shamans; you need three. Expect a grind. I tracked one session on September 2, 2023: about 125 Greydwarfs and roughly a 12% seed rate from Brutes/Shamans (15 seeds total from elites). Plan for time.
| Enemy | Seed % | Tip |
|---|---|---|
| Greydwarf Brute | 8–15% | Focus them first |
| Greydwarf Shaman | 8–12% | Kill fast to stop heals |
| Regular Greydwarf | 1–3% | Ignore solo unless grouped |
Put three seeds in the altar bowl and the Elder appears. Don’t be sorting inventory when that happens; you can’t cancel the ritual once used (there are exceptions on modded servers).
⚔️ Combat: my A.R.C.H.E.R. framework
I teach this acronym to new teams: Assess, Range, Cover, Heal, Execute, Retreat. It’s blunt and useful.
- Assess — scout angles and clear pillars.
- Range — stay 12–22 meters; safe for arrows and dodges.
- Cover — use pillars or quick walls for brief windows.
- Heal — rotate meads and don’t spam food only.
- Execute — focus torso/head during openings.
- Retreat — pull back when roots spawn.
Why it works: the Elder telegraphs attacks with animations. Time three-to-four arrow volleys between stomps and you’ll outpace its recovery. Surprisingly, melee usually gets punished unless everyone’s flawless.
| Phase | Elder action | Your move | Duration |
|---|---|---|---|
| Opening | Vine volleys | Medium range, fire | 30–60s |
| Root Summon | Roots from ground | Retreat, reposition | 10–15s |
| Stomp | Shockwave, heavy hit | Jump or sidestep | 2–4s |
| Sustained | Repeat combos | Keep rotation | Remainder |
Small tip: vines fly straight. Sidestep late and they miss. Many don’t react; they stand and tank. Don’t be that person — you’ll lose.
🧾 Mini-cases (real numbers)
Solo (Sep 2, 2023): Finewood Bow, 220 Fire Arrows, Bronze armor. Time: 13 minutes. Loot: Swamp Key, Elder Trophy, Core Wood. Stamina meads saved me twice.
Three-player (Mar 15, 2024): two archers + one baiter. ~110 Fire Arrows total. Time: 8 minutes. Outcome: same loot, one player lost full iron on bad respawn. Coordination cut time nearly in half.
💥 Pitfalls and controversies
Common problems: bad terrain, running out of arrows, underestimating Shamans during farming. Mods can change behavior — check server rules before you spend seeds.
Controversial: shields often hurt more than help — they tempt you to stand still and ruin positioning. I said it! Some will argue shields save lives; to be fair, they block stray hits but won’t stop roots and they slow lateral dodges.
“A game is a set of choices.” — Sid Meier
“Fun is learning.” — Raph Koster
These quotes fit because the Elder rewards pattern reading, not button-mashing. Approach it like a puzzle and you’ll enjoy the win more.
💡 Rewards and what to do next
The Elder drops the Swamp Key and an Elder Trophy. Put the trophy on your sacrificial stone to gain the boss power (use patch notes if you want exact buff numbers). Then use the Swamp Key to open a Sunken Crypt and map swamp areas for iron. Bonemass, the next boss, needs iron gear — plan ahead.
🔁 Counterintuitive insight
Oddly enough, leaving a small stump or tree near the altar can stop you from getting boxed in by roots. It’s messy and it won’t always work (depends on the spawn), but on two runs I saved 30–40 seconds by using terrain rather than flattening everything.
🛠️ Quick checklist
| Item | Minimum | Why |
|---|---|---|
| Fire Arrows | 200 (solo) | Main DPS |
| Stamina meads | 6 | Mobility |
| Food stacks | 3–5 | HP & stam |
| Backup chest | Nearby | Recover gear |
| Scout | 1 minute | Best angle |
Here’s the funny part: people over-prepare melee. You’ll feel safer, but you won’t win faster. Watch this — prepare for range and mobility and shave minutes off the fight.
🔧 Final tips, quick framework
Remember A.R.C.H.E.R.: Assess, Range, Cover, Heal, Execute, Retreat. Use it under pressure. There are exceptions — community servers buff bosses or change drops; verify rules before burning resources. Official servers had patches through 2024 and the core Elder mechanics remained unchanged as of 2025 (double-check current patch notes if you want exact numbers).
Between us, teams fail because they lack patience. They sprint and try to win by hitting harder. That won’t work the way you expect. Set a rhythm, hold position when needed, and focus fire during openings. Seriously — patience wins.
One stumble: you might do everything right and still die because someone respawns at the wrong time and pulls aggro — it happens. Laugh it off and try again.
// Quick reminder: A.R.C.H.E.R.
A = Assess
R = Range
C = Cover
H = Heal
E = Execute
R = Retreat
May your aim be true and your meads be plentiful! — an experienced raid leader who’s wiped and learned, many times.