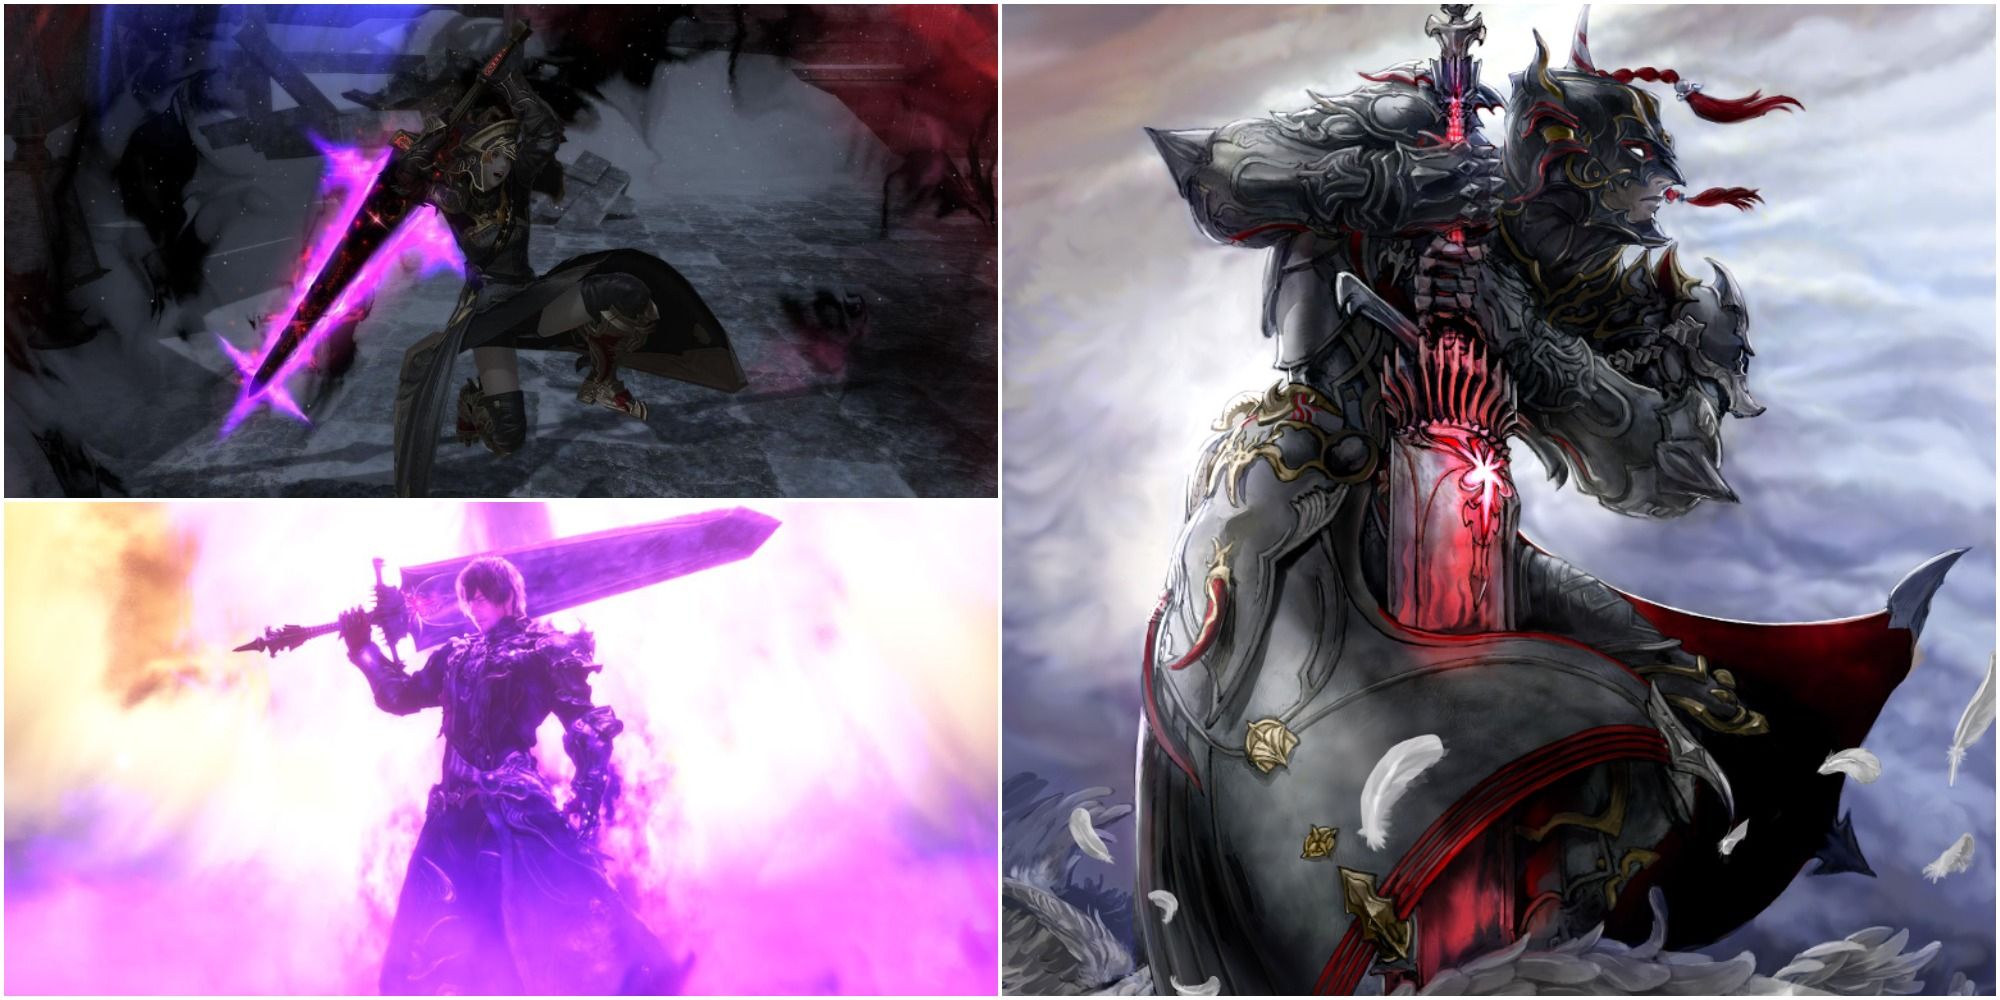
The Dark Knight (DRK) is one of Final Fantasy XIV’s most rewarding tanks: strong defense, solid damage, and a dark aesthetic that actually tells a story. I’ve played it for years and, in my experience, it asks you to think about MP and timing more than most tanks. We found that mastering a few core habits improves consistency far faster than memorizing a long rotation.
🗡️ Core Identity
DRK uses MP as both fuel and shield. Your job is balancing Darkside (damage stance) with MP spend on skills that protect the party. The Blackest Night (TBN) is central: it gives a shield based on HP and, when broken, grants a Dark Arts proc that powers stronger attacks like Edge of Shadow and Flood of Shadow. Why? Because the job trades raw blocking for smart resource flow.
Honestly, that tradeoff makes DRK feel like walking a tightrope—one misstep and you’re scrambling. There are exceptions, but most fights ask you to pick when to be offensive and when to be defensive.
⚔️ Rotation — Practical Priority
Think priority, not rote steps. Keep Darkside up. Use Hard Slash → Syphon Strike → Souleater for Blood Gauge and MP return. Then weave oGCDs. Salted Earth should be refreshed on cooldown for steady damage. Carve and Spit and Abyssal Drain give damage plus MP recovery, so don’t ignore them.
- Maintain Darkside (always aim for this)
- Do the Hard Slash combo
- Spend Blood Gauge (Bloodspiller / Quietus)
- Use Edge/Flood when MP is available
- Abyssal Drain for multi-target MP gain
AoE? Swap Edge for Flood, use Unleash combos, and open aggro fast so the party can follow up. Positioning matters more than raw numbers. Surprising but true: sometimes a slightly slower opener gets everyone safe and saves the raid time.
// simple priority pseudo
if (!Darkside) -> refresh
if (BloodGauge>=50) -> Bloodspiller/Quietus
if (MP>7000) -> EdgeOfShadow
use SaltedEarth on cd
🛡️ Defenses — When to Use What
The Blackest Night is your defining cooldown. Use it when a shield will actually break (here’s the funny part: breaking it grants offense). Combine it with Shadow Wall or Rampart during heavy damage phases. Living Dead is powerful but needs healer coordination—don’t pop it and run off! (We found coordination removes so many awkward deaths.)
| Cooldown | Effect | Best Use |
|---|---|---|
| The Blackest Night | HP shield (7s) | Tank busters, heavy hits |
| Shadow Wall | 30% DR (15s) | Sustained heavy damage |
| Rampart | 20% DR (20s) | General mitigation |
| Dark Mind | Magic DR (10s) | Magical burst |
| Living Dead | Invuln-like (10s) | Last-resort emergency |
Controversial take: spamming TBN every time is lazy play. You’ll get more mileage by timing it with a break and using the Dark Arts proc intentionally. Some players disagree—what do you think?
💀 Endgame Tricks
For savage and ultimate content, plan. Pre-pull Unmend for aggro, keep ~3000+ MP for emergency shields, and time Living Dead with healer availability. Tank swaps need exact timing; use TBN to soak the buster if you can guarantee it breaks. To be fair, this depends on your group’s coordination.
Counterintuitive insight: sometimes lowering Skill Speed reduces MP drain and yields cleaner windows for big hits. I’ve noticed this more than once in 2025 during raid tuning tests. Don’t chase a higher GCD timer without testing it on the boss you’re learning.
📊 Stats & Gear
Weapon damage and Strength matter most. After hit/accuracy needs, target Critical Hit, then Determination, then Direct Hit, and use Skill Speed last for balance. Specific numbers change with your gear, but aim for a high crit threshold (~2500+ if your build supports it).
| Stat | Priority | Note |
|---|---|---|
| Weapon Damage | 1 | Upgrade first |
| Strength | 2 | Main damage stat |
| Critical Hit | 3 | High scaling |
| Determination | 4 | Stable boost |
| Direct Hit | 5 | Filler |
| Skill Speed | 6 | Watch MP cost |
Practical Quotes & Tips
“Keep Darkside up and don’t be greedy with TBN—timing beats spam.” — a DRK who’s died to busters before
Three quick tips:
- Communicate Living Dead with your healer.
- Practice MP windows in a duty finder run (yes, test it!).
- Use Abyssal Drain on multi-targets to top up MP.
Watch this: aligning Edge of Shadow with raid damage buffs raises party output more than raw personal DPS spikes. Oddly enough, saving a proc for that moment matters more than emptying your bar as soon as it procs.
One last unexpected point: being aggressive sometimes reduces healer stress because adds die faster. It’s not always obvious, but we found faster clears are often kinder to the whole team.
Okay, final messy thought—DRK rewards thinking, not just button pressing. Practice, talk with your group, and accept that you’ll screw up sometimes. It’s part of learning (and hey, that’s how I got better!). 🌙⚔️
